We all know that with the 1.6 Patch a new Incursion, Stolen Signal was added. Well, Stolen Signal has been quite a pain for a lot of players. Knowing that I’ve promised myself that I will make a step-by-step guide for the new Incursion. This guide is created for Heroic as well as Challenging Difficulty. It’s the same. The Stolen Signal Incursion guide comes with a Video material as well as a text material.
Stolen Signal is not a that hard mission in The Division. Players are just failing at using the right skills in all of the Four Stages. We all know that Stolen Signal has four stages we need to master, so let’s start explaining them right now.
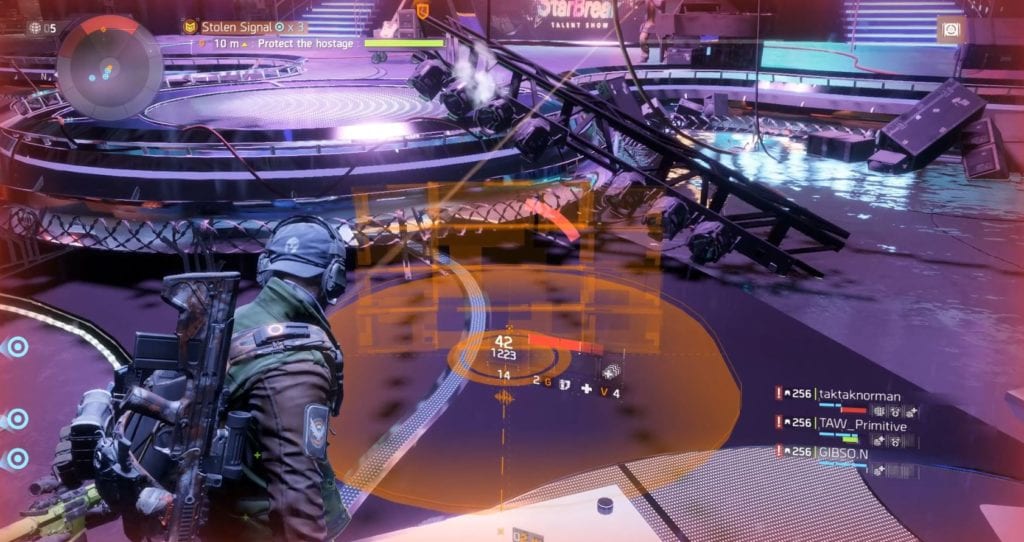
Stolen Signal’s Night Club (The Disco)
We are going to start explaining the Night Club first. What kind of Skills you need to use and what type of setup so you can survive throughout the whole fight. It’s straightforward.
The skills you need to have are the following:
- 2 Mobile Covers (Extension)
- 2 Healing Stations
- 1 Pulse (for Damage)
- 2 First Aid – Mod: Overdose (1 on the right and one on the left side)
Ultimates:
- 1 Survivor Link
- 3 Recovery Links
This is pretty much it. You’re right to go. Let me remind you that this Doesn’t require any unique gear set-up. We are all running different builds, and it can work with any of them. Just make sure you do not forget 2 DPS builds, otherwise it might be a real Pain.
Mobile Cover Placement
The 2 Mobile Covers should be picked by those guys who have the most Skill Power in the game. We do not want the Mobile Cover Destroyed at all.
Alright, so one guy that runs the Mobile Cover, accompanied by another damage dealer (damage dealers must be split, otherwise the boss will drop grenades only on the side that deals the most damage) are going on the left side. The other Mobile Cover guy goes on the right side accompanied by another damage dealer. They need to make sure they’re placing the Mobile Covers in the right place. After that, it’s all about fire.
Healing Stations Placement
While the fight goes on, the two Healing Station guys need to co-op and place the Healing Stations in the middle (one after another, not at the same time). By doing this, all of the four players can revive themselves without bothering their teammates. This will give the other players a lot of room to breathe and continue working their job instead of reviving their teammates. It is effortless, you’ll see it in the video. Damage Dealers should focus the Boss. Other guys should focus the NPC’s, pretty simple.

By using this and standing on the platform, you will avoid the Incoming Power Surge and be shocked.
Getting Rid of the Heavy
Now, we know that there is a Heavy coming with a timer running down, so make sure you do not forget to get rid of his backpack as soon as you can. Attack his backpack, and get rid of him fast. Just make sure you open your eyes whenever he comes, sometimes he might come later so getting his backpack is a must.
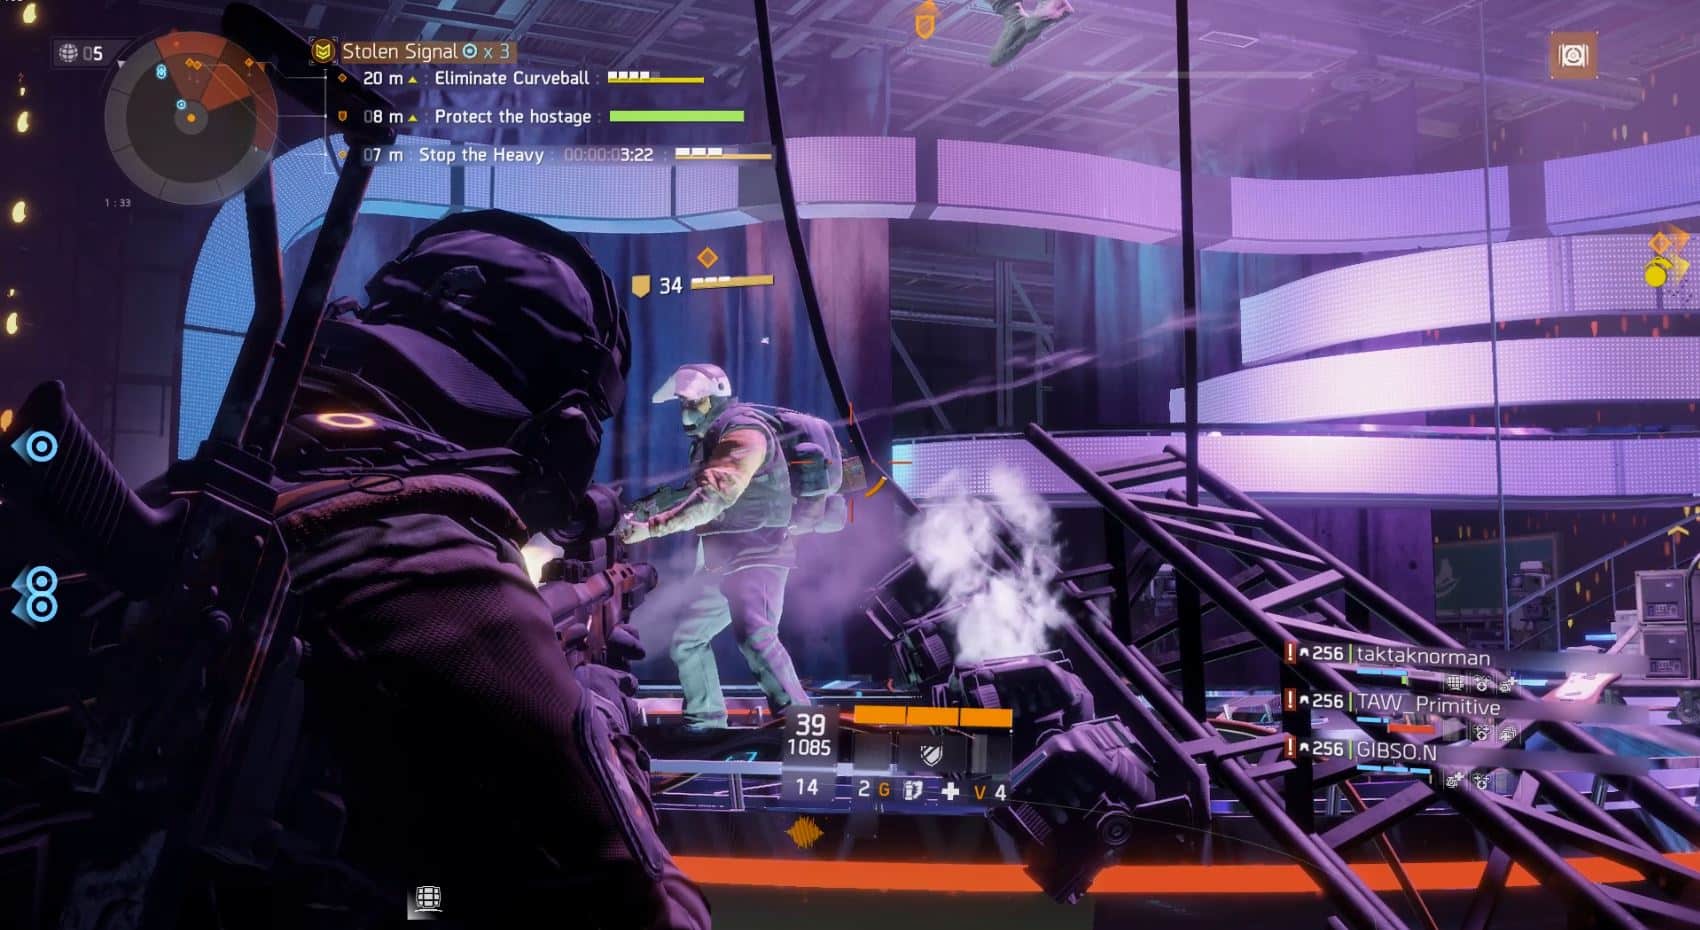
Take down the Snipers
A lot of guys avoid the Snipers that spawn on the left and right side. Just make sure you burst them down as fast as you can. Well, you also do not want to forget to attack Curveball whenever you can. That’s your main objective after all.
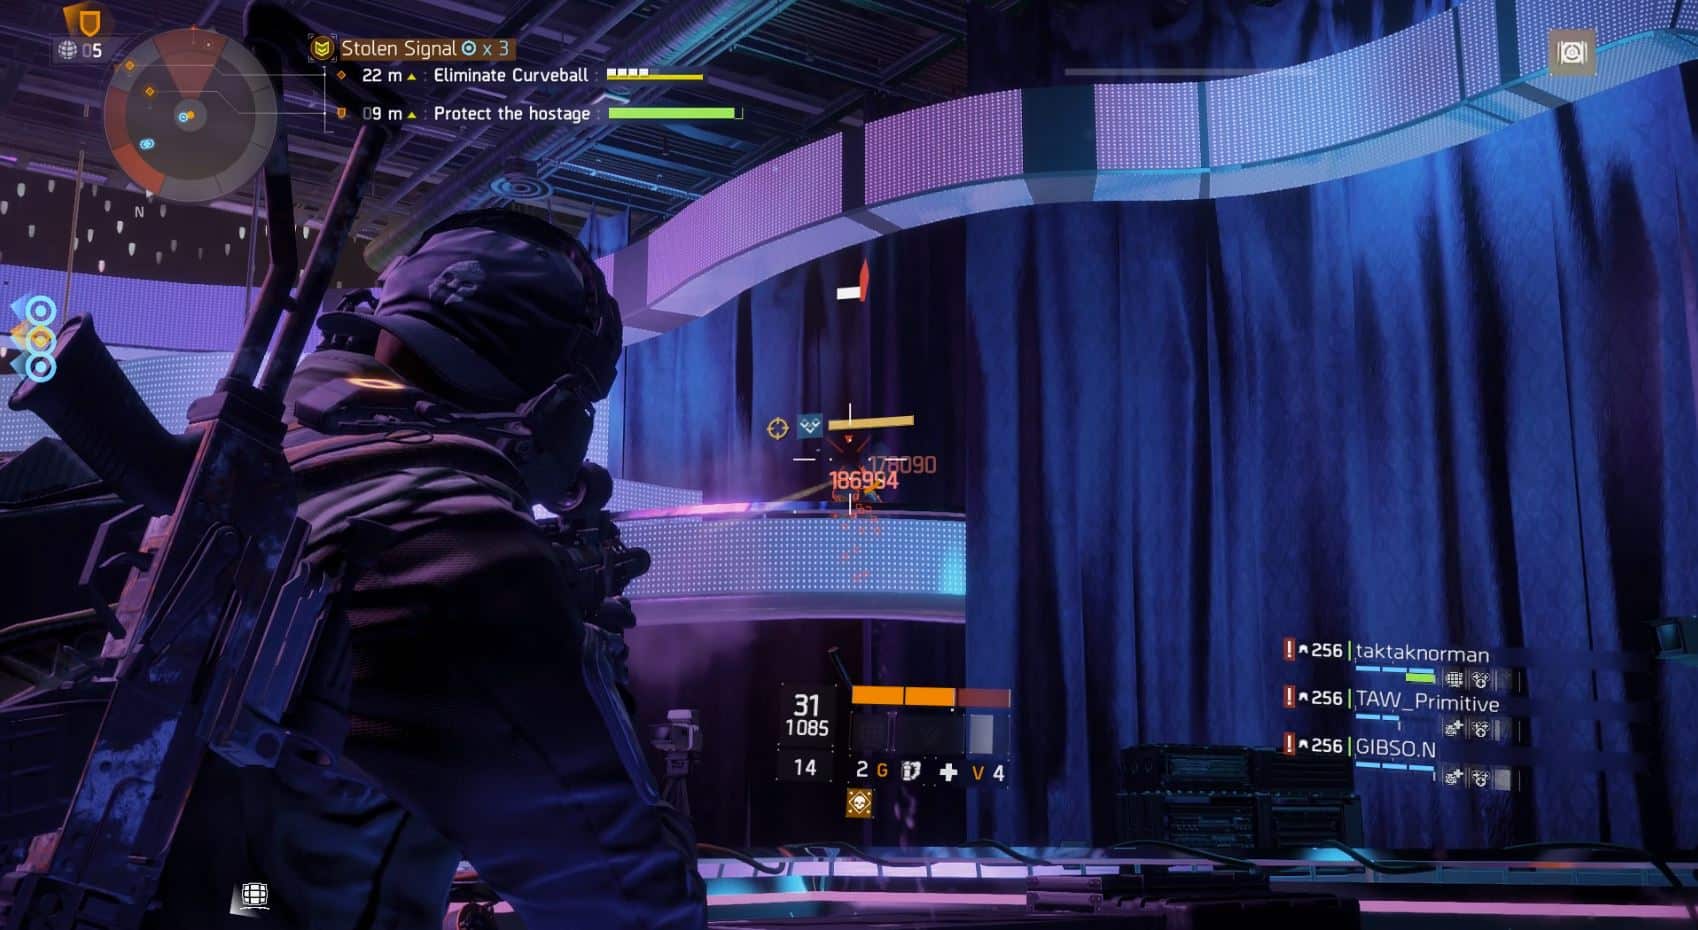
Avoid Curveball’s grenades
When the boss starts throwing grenades, do not panic. Just get out of cover and go forward, wait for the grenade to explode and then go back in cover. It’s straightforward and easy to do. You can see that in the video below.
That’s going to be it, let’s move towards the second stage and explain how to kill Checkers fast.
Stolen Signal’s – Defeating Checkers
Checkers is a Sniper boss, but before we get to him, we need to pass by 6 turrets which are attacking from 3 different sides. This part should be easy to understand and there is an explanation on how to do it in the video too.
Passing by the turrets
Let’s see what kind of skills we need to give the first phase (the Turrets):
- 2 Ballistic Shields – Mod: Reactive Targeting
- First Aid Overdose (even though not that important)
Over here, you’ll need two ballistic shields or maybe 3, meaning that this phase is elementary and you can mess around with your skills. The most important part is to make sure the guys that are using the ballistic shields are WALKING and not RUNNING. You can start walking with your character by clicking the BACKSPACE button on your keyboard. As soon as he starts walking, you’re good to go.
Why is that so? Because it’s easier to cover the guy that’s carrying the Fuse because that guy is walking which means his moving at a lower speed. It’s a lot easier to sync the movement speed between the shields in front and the guy in the back. You don’t want him dead.
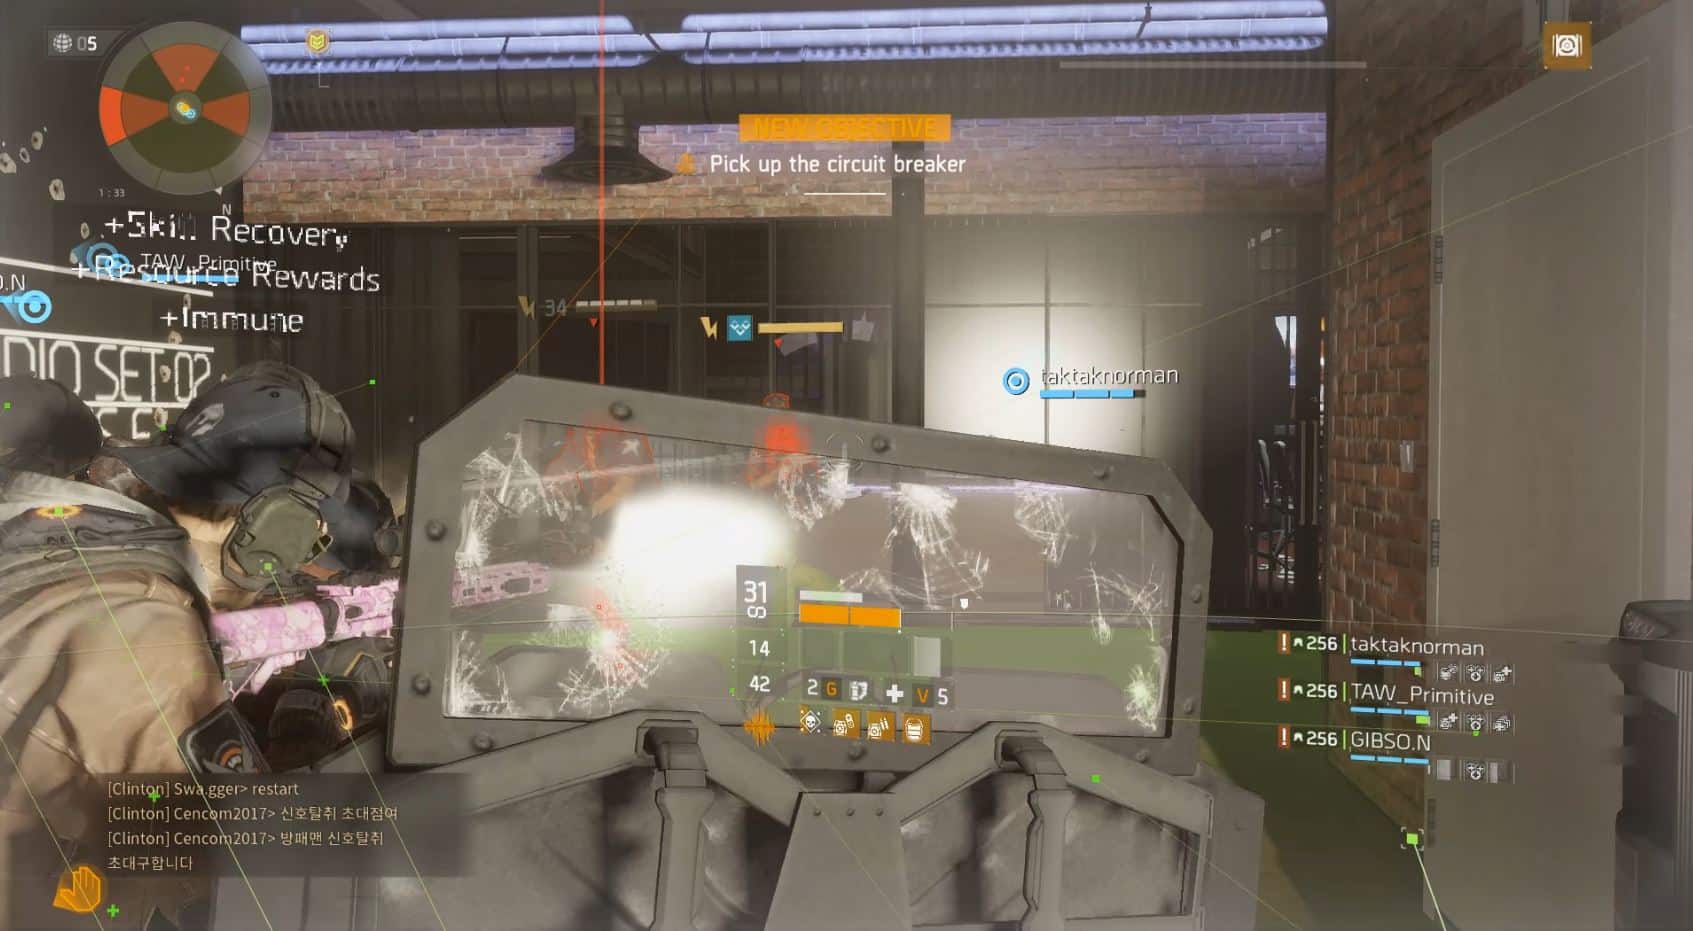
As soon as you’re in the first half of the hallway take a break in the middle and hide. After you do that, there will be 3 ShotGunners coming your way. Take them out, then continue towards the end. When you get to the end, open the door and be ready for another Shotgunner that is going to spawn. Take him down and then continue carrying the Fuse and plug it in. Alright now, the fun part is about to come.
Second Stage – Time to Shine
This stage is where the Damage Dealers do their best job. Let’s just see what kind of skills you need to use over here. I will prove you that Stolen Signal is not that Hard. I’ve said it before I’ll say it thousands of times if I need to :).
Skills to use:
- 3 Healing Stations – Mod: Life Support
- 1 Pulse
- 2 First Aid – Overdose
- 1 Flame turret
- 1 Mobile Cover – Mod: Extension
Ultimates:
- 1 Survivor Link
- 2 Recovery Link
- 1 Tactical Link
The damage dealers should do their Job at their best. This is their stage, and they must not fail with their aim. Another good fact is that having a Sentry Build with you might help you a lot. Alright, let’s explain where do you need to place the Mobile Cover and Healing Stations.
The Mobile Cover needs to be placed either on the left or the right side, your choice. We choose to put it on the right side. This mobile cover is placed there so players that are in danger can take cover and heal themselves a bit. However, it’s not the primary objective of the game. The most crucial guy over here is the guy that runs the flame turret. I will tell you why, later.
Using the Healing Stations
You need to always have a healing station on the right side. Forever. Otherwise, things might go wrong and no one can revive you. Also, make sure you do not use your Tactical Link for reviving only one downed player. Try to revive him, if you cannot, and things are going bad… just pop it.
Taking Out the Rushers
You know that rushers are spawning from time to time. Make sure you eliminate them preventing the hostage getting killed.
Getting Rid of Checkers – Finally
This is the most crucial part of the game. The guy that has the most critical role, as I said before. This is where the Flame Turret and the Tactical Link comes to live. Checkers is a Sniper boss, and they usually deal a lot of damage, but they also have low hp. What’s different from the last stage is that over here, NPCs keep on spawning when Checkers is alive.
So, if checkers spawn on the left side, you place the Flame Turret right below him on the table. In this way, Checkers will be put on fire, and he’s not going to take a single cover. This is also the time where the Tactical Link and Survivor Link are coming to life. Use them, and try to burst the boss as fast as you can. Otherwise, NPC’s will just keep on spawning and spawning. After killing the boss, make sure you get rid of all the minions. They still might kill you, so, take care.

You’ll see it in the video. It’s really simple.
That’s pretty much it. That’s how you finish Stolen Signal Incursion fast. I am pretty sure that the video guide is going to help you a lot. Just make sure you watch it. The video is not edited, it has everything included since the beginning.
Third Stage – Pigstick and his Final Rush
This is probably the most comfortable Stage. All you need to do is take care of the explosives and don’t let the Rikers arm them. That’s why you’ll stick four guys in front of the laptop and just overheal yourselves and kill everything that comes in your way. Just do not forget… whenever Pigstick is coming to your side, make sure you attack him. I mean… the first part of this stage is a lot harder than the second one. 🙂
First of all, let’s see what kind of skills you need to use.
Skills:
- 3 First Aid – Overdose
- 3 Healing Stations – Life Support
- 1 Pulse
- 1 Flame turret
The flame turret is used for stopping the Shotgunners that rush you in the starting phase. There will be two waves of them. Just place the flame turret on the ground, get one Mobile Cover (Extension) and kill them. It’s pretty simple. Do not panic :).
Getting Rid of Pigstick
Just make sure you place the healing stations on the ground whenever you can, and you use your flame turret whenever you can too. It’s the easiest stage, and I do not need to explain a lot about this. One guy that deals decent damage should hold the door because the Shotgunners are coming from there… almost always. If he can get all the three of them, then he can attack the big guy’s backpack easy.
Care, the fat guy is the one that will try to arm the explosives, so open your eyes.
Do not forget to attack Pigstick when he’s up on your side. You must get his armor down as fast as you can and wait for his final rush. When that happens, just make sure you burst him down. It’s pretty simple. You’ll see it in the video. That’s it, do not have a lot to speak about this.
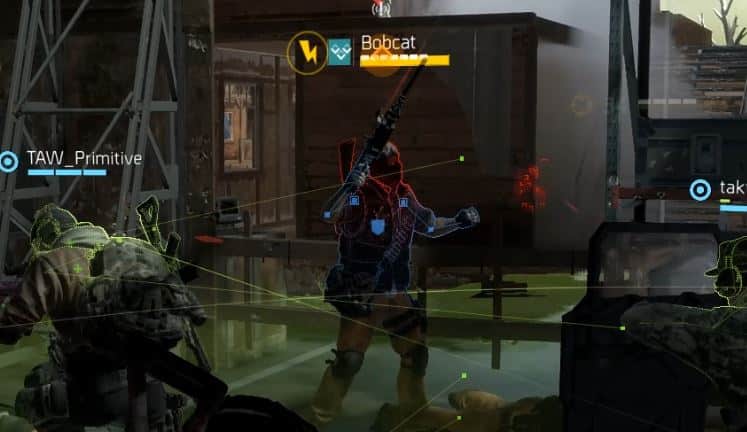
Final Stage – Killing Jackalope, BigHorn and Bobcat
Ok now guys, this is probably the hardest stage knowing that we need to fight NPC’s, defend Hostages, Fight Bosses and Kite Bobcat because of his Survivor Link.
What kind of Skills do you need for the last stage? Well, you will need to roll with 3 Ballistic Shields pretty much… 🙂
Skills:
- 3 Ballistic Shields (Reactive Targeting) for Covering the Hostages
- 1 pulse for more damage
- 2 First Aid – Overdose
- 2 Healing Stations
Ultimates:
- 1 Survivor Link
- 3 Recovery Links
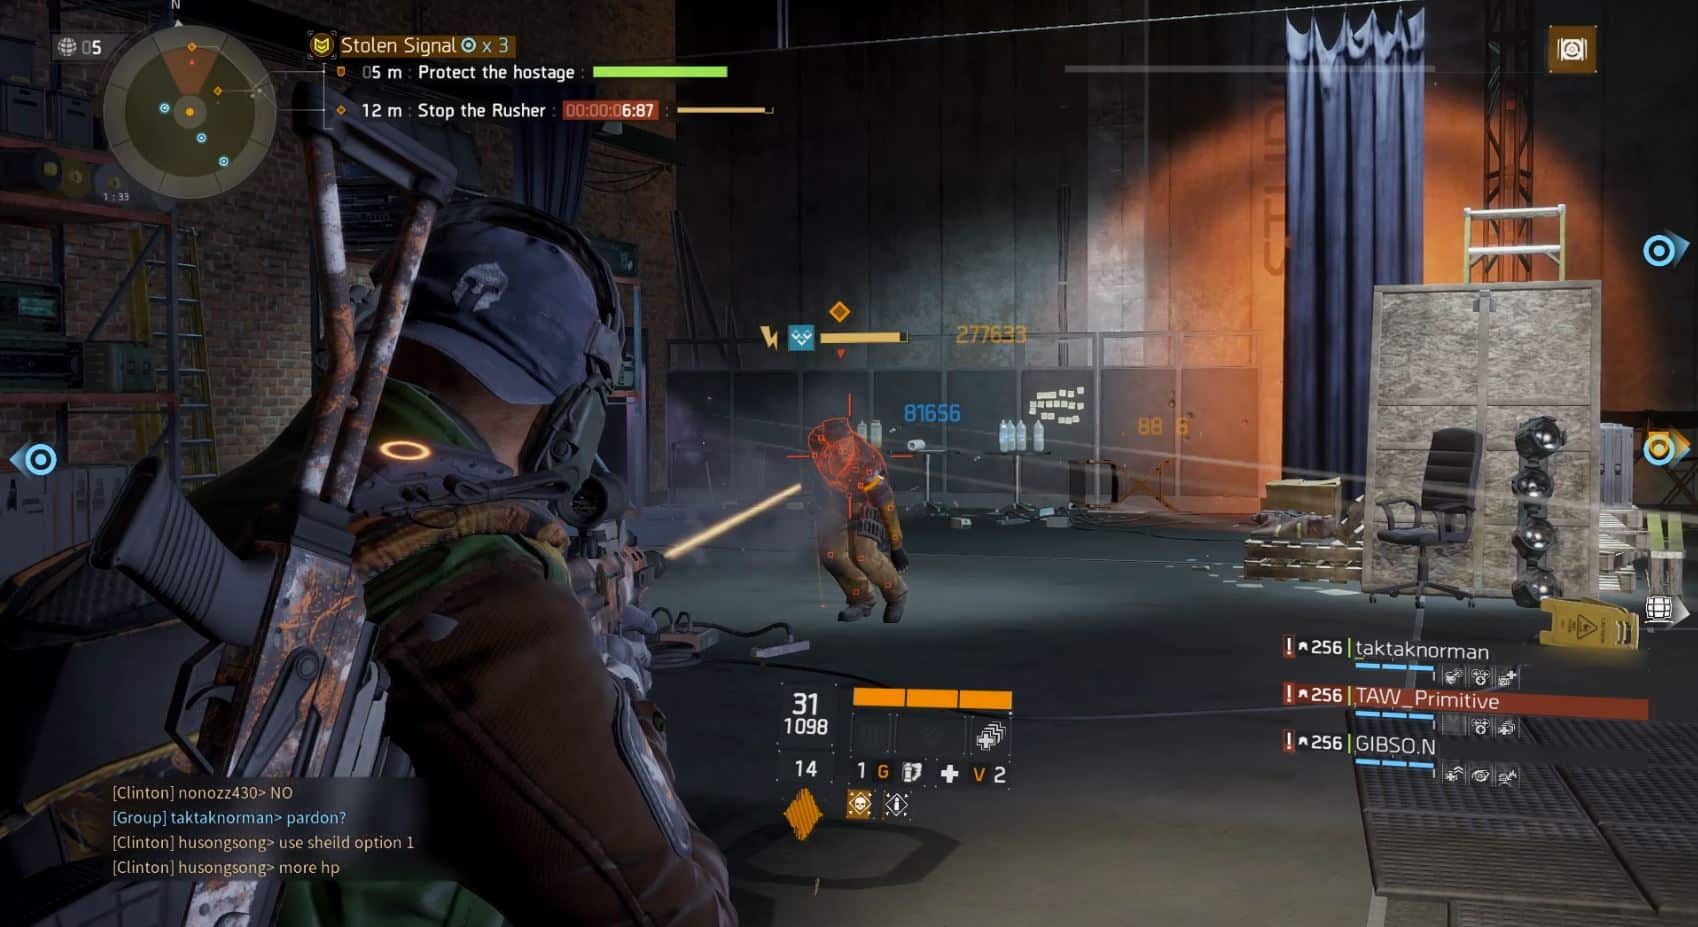
So, guys, this is pretty much it. I mean, doing the last stage is easy but hard :). I do not know how else to break it down for you. The more you play it, the more you get used to it. The most tricky part in this stage is covering the second hostage. Even if there are X marks in front of the hostages, the second hostage is kind of buggy should I say because sometimes the Gatling Gun attacks his left hand and he dies.
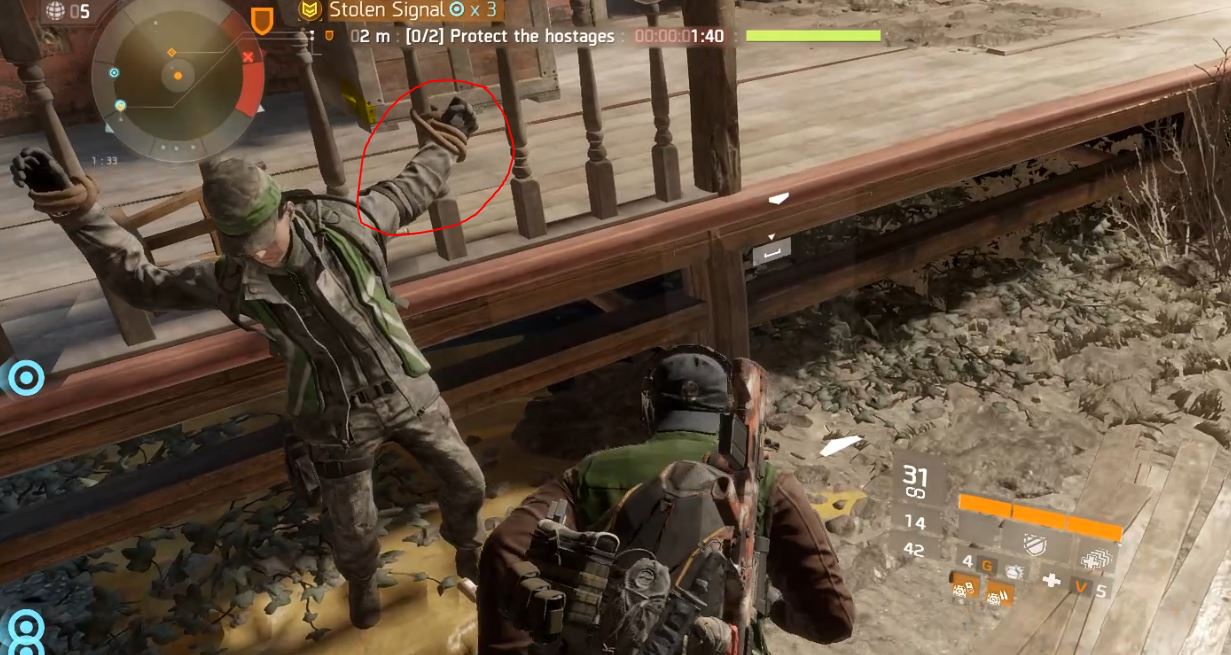
Because of this, you will need to stay a bit more forward from the X and just stick yourself to the wall. See the picture below.
Last Stage – First Phase
Start by holding the left side with your team and clear the NPC’s. Then, defend the hostages with your ballistic shield. Just make sure you do not go out before the timer reaches at least 4 seconds. The Boss starts attacking the hostages after the timer goes down. Do not get confused. You must know this to save your ballistic shield at full hp when the event occurs.
Second Phase – Activating the Pyrotechnics
It’s pretty much pure, 1 or two guys should cover the guy that’s activating the Pyrotechnics.
Third Phase – Clearing the NPC’s and the Boss
After activating the Pyrotechnics, run back to the start point, just where you came from. Wait for the boss to come, take his armor down, then start killing all the remaining NPC’s. You must not kill the boss before the NPC’s are dead. Otherwise, the defense of the hostages will be a lot harder, and you will die, pretty sure.
After the boss loses his armor, a Heavy guy jumps from above. Make sure you take his backpack and kill him fast. Also, do not forget about getting rid of the Shotgunners, they deal the most damage.
As soon as you get the first boss, two snipers will spawn. When they spawn, make sure the guy that’s not using a Ballistic shield will take them down. He should do this while the hostage defense timer goes down. Fast and effective.
Activating Pyrotechnics in the Middle of the Area and Killing Bobcat
This is where your Survivor Link comes to Live. That’s your chance to be tankier if the guys fail to cover the guy that’s activating the Pyrotechnics. You should do this after you kill the two Shotgunners that spawn from the left side of the area, more precisely, from the door. Do not hesitate. You must do this fast. Otherwise, NPCs will just keep on spawning.
Keep in mind that after you activate the last Pyrotechnics, you can change your Ballistic shields to whatever you want. So, getting the healing stations will be impressive, you do not need anything else.
Now what differs from the other two bosses is that Bobcat has a Survivor Link Ultimate and he pops it when he takes a big chunk of damage and loses a percentage of his armor.
Whenever you see him use his ultimate, you just run away to the other side of the map.
When you reach there, get rid of the NPC’s and wait for Bobcat to come to you. When he does, If he still has his Survivor Link on, just make sure you run away on the other side of the map again. If not, burst him down until he activates it again. Then, run on the other side of the map.
After you do that twice, the third time should be the end. Just make sure you are switching sides as a group and don’t split up, whoever splits out, he’s a dead man. Run and pop the Overheals on the ground.
Stolen Signal Video Guide
At last, there is the video guide so you can hear everything I speak, step-by-step, just as promised. The video is almost processed, that’s why we are publishing the article!
I hope that this Stolen Signal guide will help you finish the mission a lot faster than ever before. Please, appreciate our work, become our Subscriber and do not forget to subscribe to our Youtube channel too.