How to Install and Configure Reshade in Playerunknown’s Battlegrounds To Get the Max Advantage

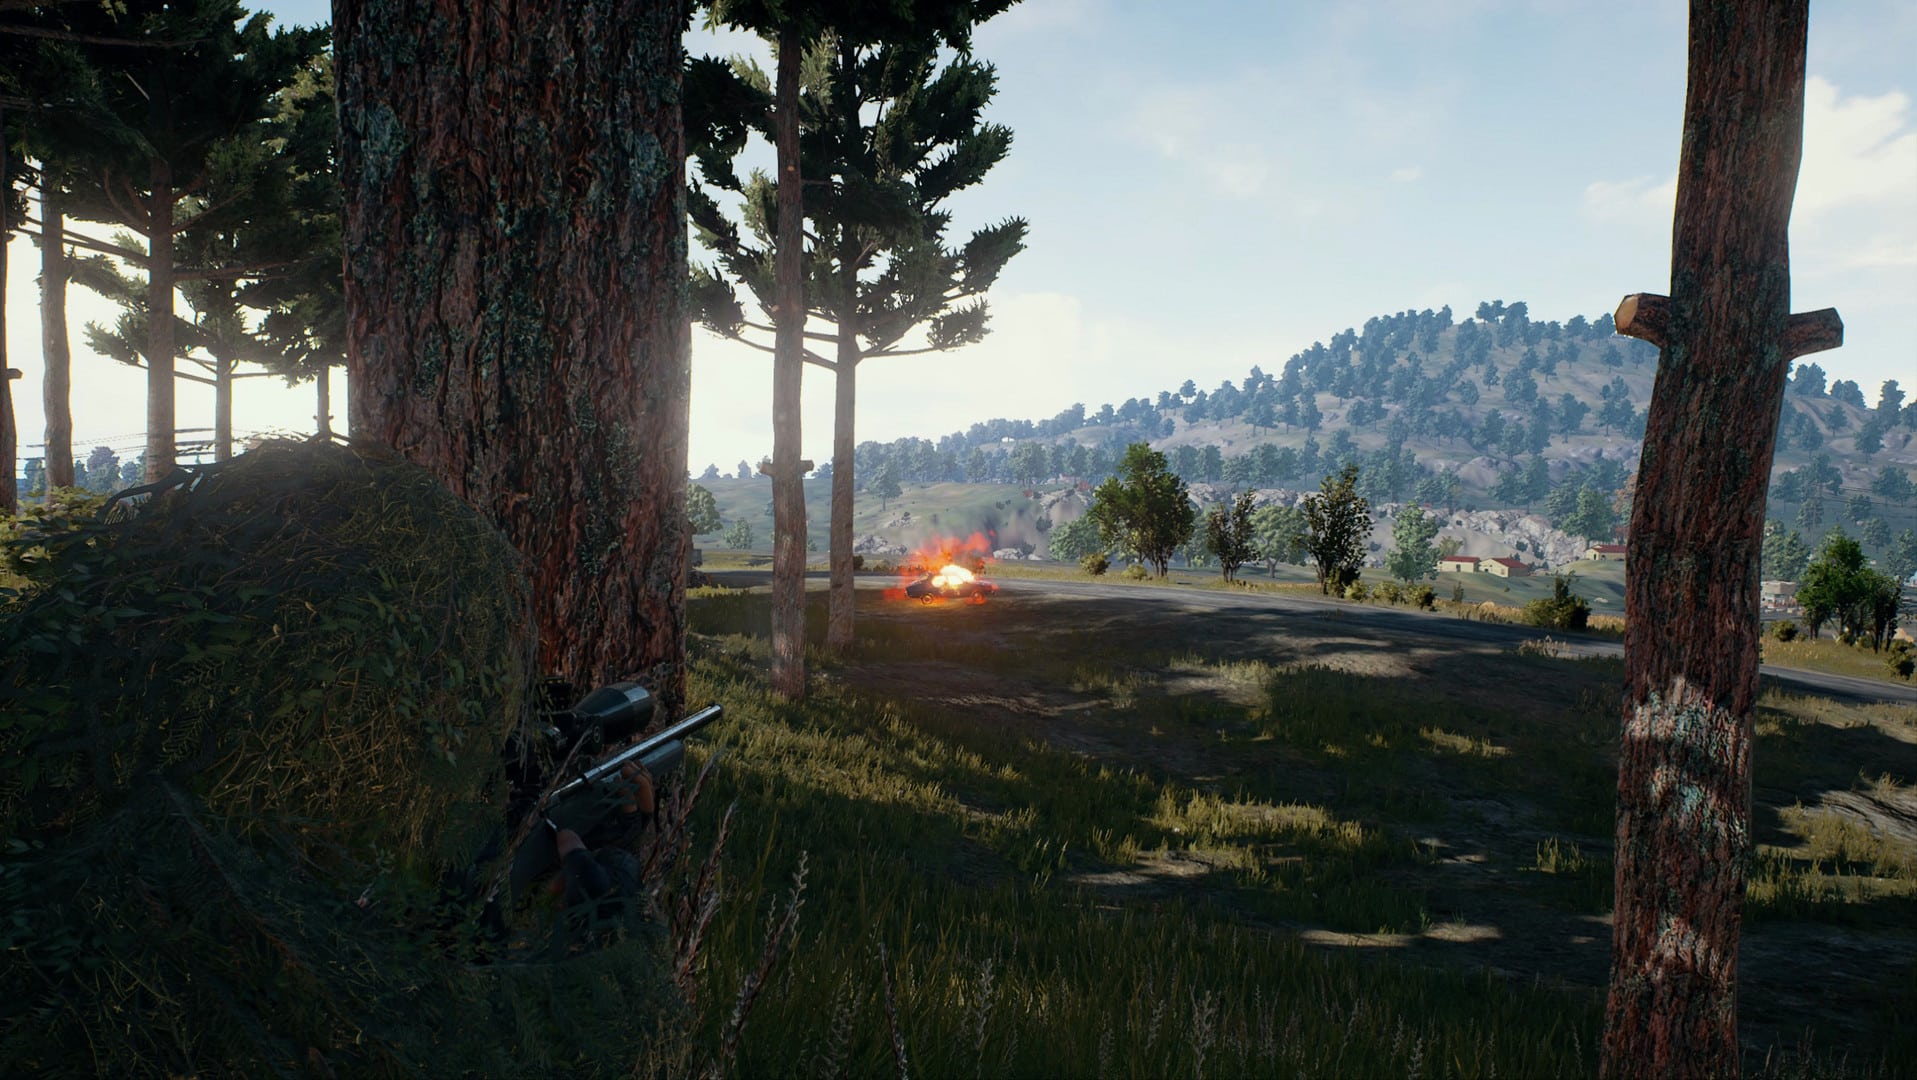
Well, I have been experiencing quite some visibility issues in Playerunknown’s Battlegrounds. It seems like the game textures, no matter what setting you’re playing at, they are kind of blurry, while the colors are dead if you do not scale Digital Vibrance from the GPU panel. I knew that Reshade might help, so that’s why I’ve downloaded, installed and configured it for PUBG. Now, I have a lot better in-game experience as I can see every single detail in the game much clearer than before.
First of all, let’s just all remind what Reshade is and what it does:
ReShade is an advanced, fully generic post-processing injector for games and video software developed by crosire. Imagine your favorite game with ambient occlusion, real depth of field effects, color correction and more … ReShade exposes an automated and generic way to access both frame color and depth information (latter is automatically disabled during multiplayer to prevent exploitation) and all the tools to make it happen.
So if you take this explanation of what Reshade is into account, Reshade is your best friend when it comes down to video games such as PUBG. Playerunknown’s Battlegrounds viewability is limited to what the game offers, but you can quickly improve the viewability by using Reshade, though make yourself more useful, especially if you involve yourself in team games.
By watching lots of videos brought me to one conclusion, no one knows how to set up their Reshade in Playerunknown’s Battlegrounds correctly. However, the sad part in using Reshade is that you’ll need to have a good Rig for maximum effect. But, do not worry, we’re here to help you on the Reshade optimization. The Good thing about Reshade is that it supports all of Direct3D 9, Direct3D 10, Direct3D 11 and OpenGL.
How to Install Reshade in Playerunknown’s Battlegrounds
First of all, you’ll need to go to Reshade’s official website https://reshade.me/ and download Reshade from there. Then, begin the Reshade Installation by double clicking the downloaded file. After that, make sure you follow the steps below.
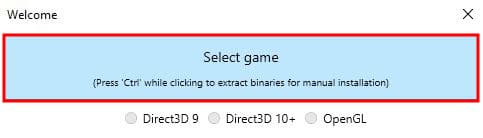
1. Click on “Select game.”
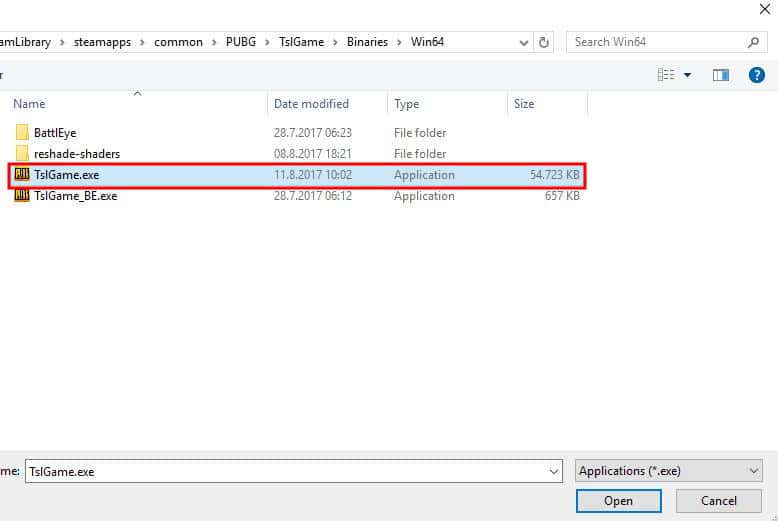
2. Locate “TslGame.exe” which is the executable file for Playerunknown’s Battlegrounds and Double click it or Open it.
3. After that, make sure you select the rendering API, which will be chosen by default. Just click on it one more time to confirm it.
4. You will be asked if you wish to download a collection of standard effects from GitHub. Click on Yes as you’ll be able to toy with them later and find which suits you the best.

5. You will need to make the right choice of effects to minimize the game’s loading time. If you want to play with all of them, just leave them all selected. If you only care about performance, then from the list of effects make sure you choose only AdaptiveSharpen, Technicolor 2, Clarity, Colourfulness, LumaSharpen, and HDR.

6. Now that the Reshade installation is over, you’re good to start the game and continue with the Configuration.
7. As soon as you hop in the game, you’ll see an overlay at the top which is Reshade’s overlay, providing you the loading statistics. Do not panic, that’s completely normal.
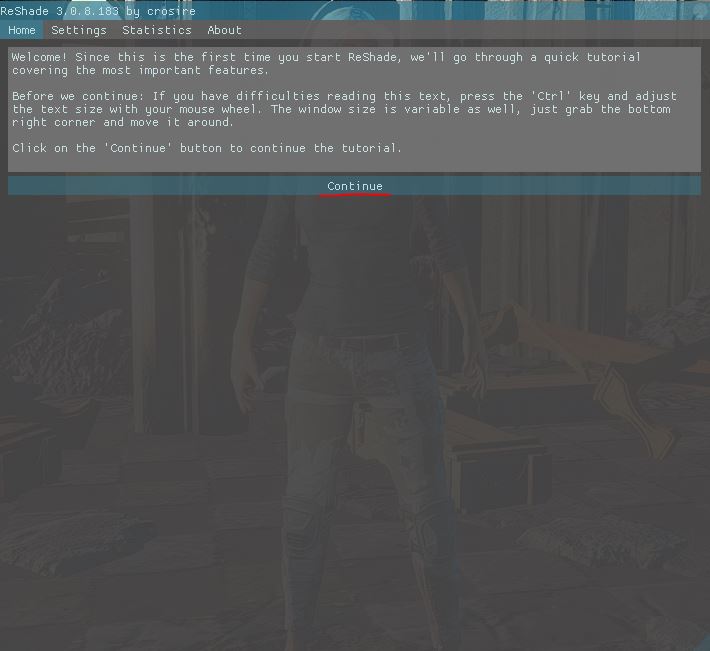
8. When everything loads, click Shift+F2 on your keyboard to bring the Reshade Overlay on your screen. At the first window, click Continue.
9. After that, you will get the page with all of the effects. It contains the .fx files installed by Reshade.
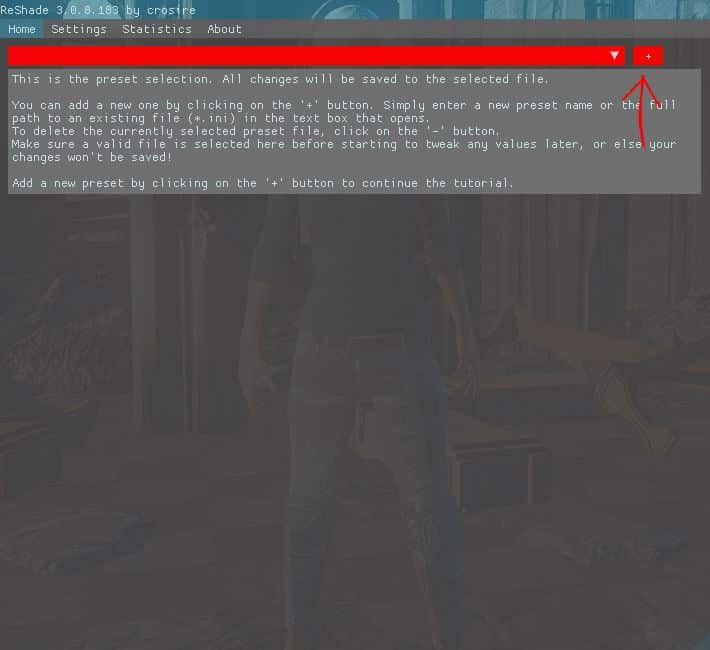
10. First, click continue and then create a new configuration file by clicking the PLUS sign on the top right. You can name it PUBG and click enter. (See pic below)
11. After you create your .ini configuration file, you can start enabling the needed effects. As we said, the most important Effects to include in PUBG are AdaptiveSharpen, Technicolor 2 and HDR. I find those the best one to use, as they are making my image a lot clearer and brighter. Additionally, you can try to play with LumaSharpen, Colourfulness, and Clarity.
12. Click on Expand All at the top right and select all of the listed effects. As you can see, I love using all of the three Sharpening technologies. If you experience some issue or ruined image, make sure you uncheck some of them. However, I do not think that it will break the picture to be fair. The only problem over here might be the FPS. If your rig cannot handle, it will drop your FPS by around 10-15-20.
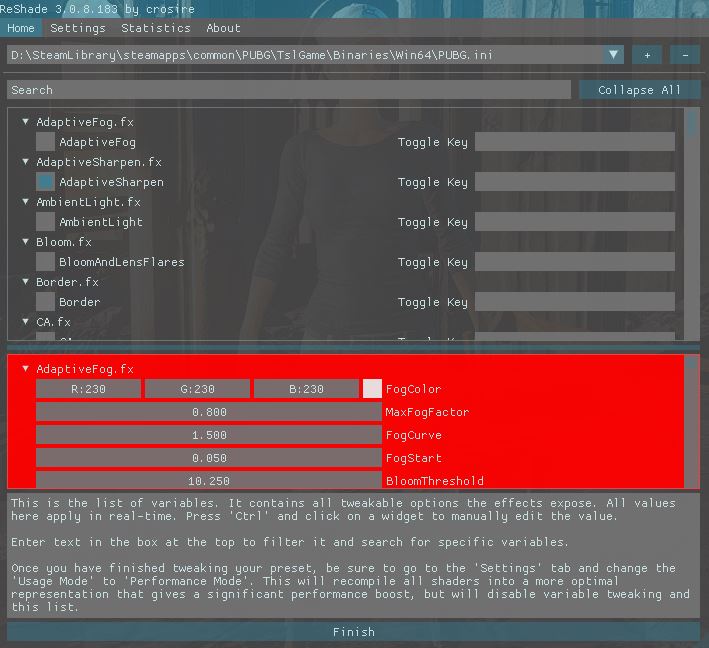
13. On the second list under the effects (Picture above), you can even change their variables, which means you can completely custom the impact they have. A little tip… when you do that, make sure you modify the Strength value only. It is more than enough for you to find your very best looking image by just tweaking that.
14. After you select our chosen effects, make sure you go to Settings and change Usage Mode to Performance Mode.
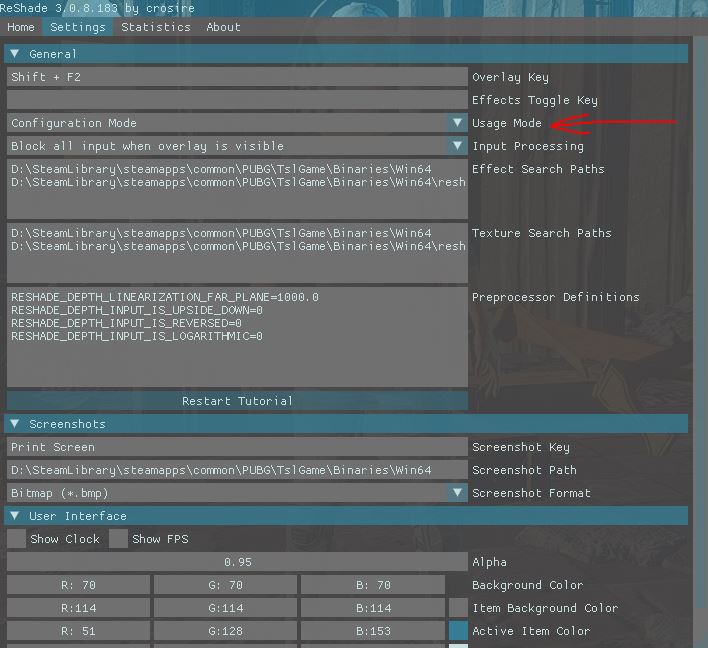
All of the effects will reload once more, and then you’ll be good to go. If you’re using the listed technologies as we do, you will not need to play with the brightness and scale your Digital Vibrance from your GPU. It’s the beauty of Reshade. What’s even more important is that you’ll get both the Sharpness and Color Noise you need. It will allow you even to notice a tiny bit of enemy’s detail. You’ll never miss then again, ever.
That’s the only reason I have it on my PC as well.
If you’re scared about being banned, do not worry because Playerunknown has already promised that using Reshade won’t get you banned at all, and it doesn’t include in the list of disturbing software by both Bluehole and BattleEye. You can see his tweet below.
https://twitter.com/PLAYERUNKNOWN/status/851074602084192258
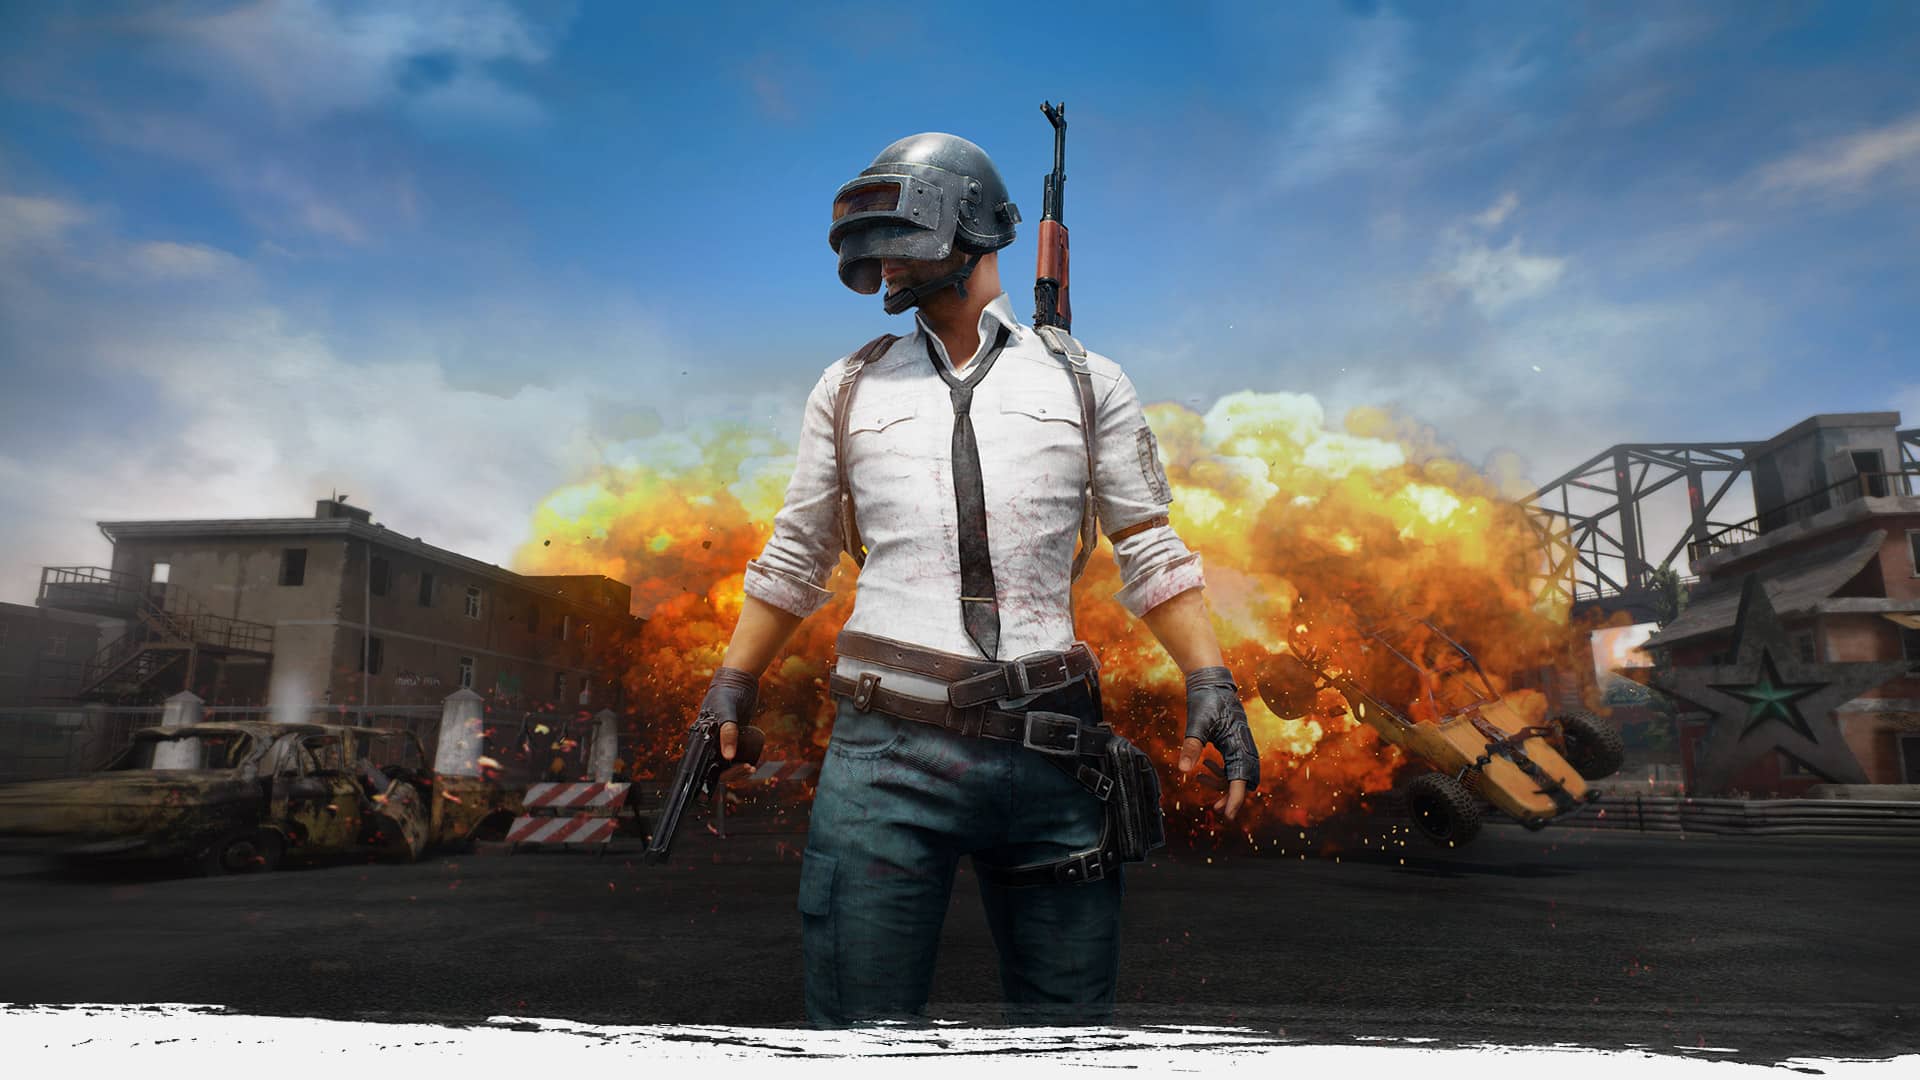
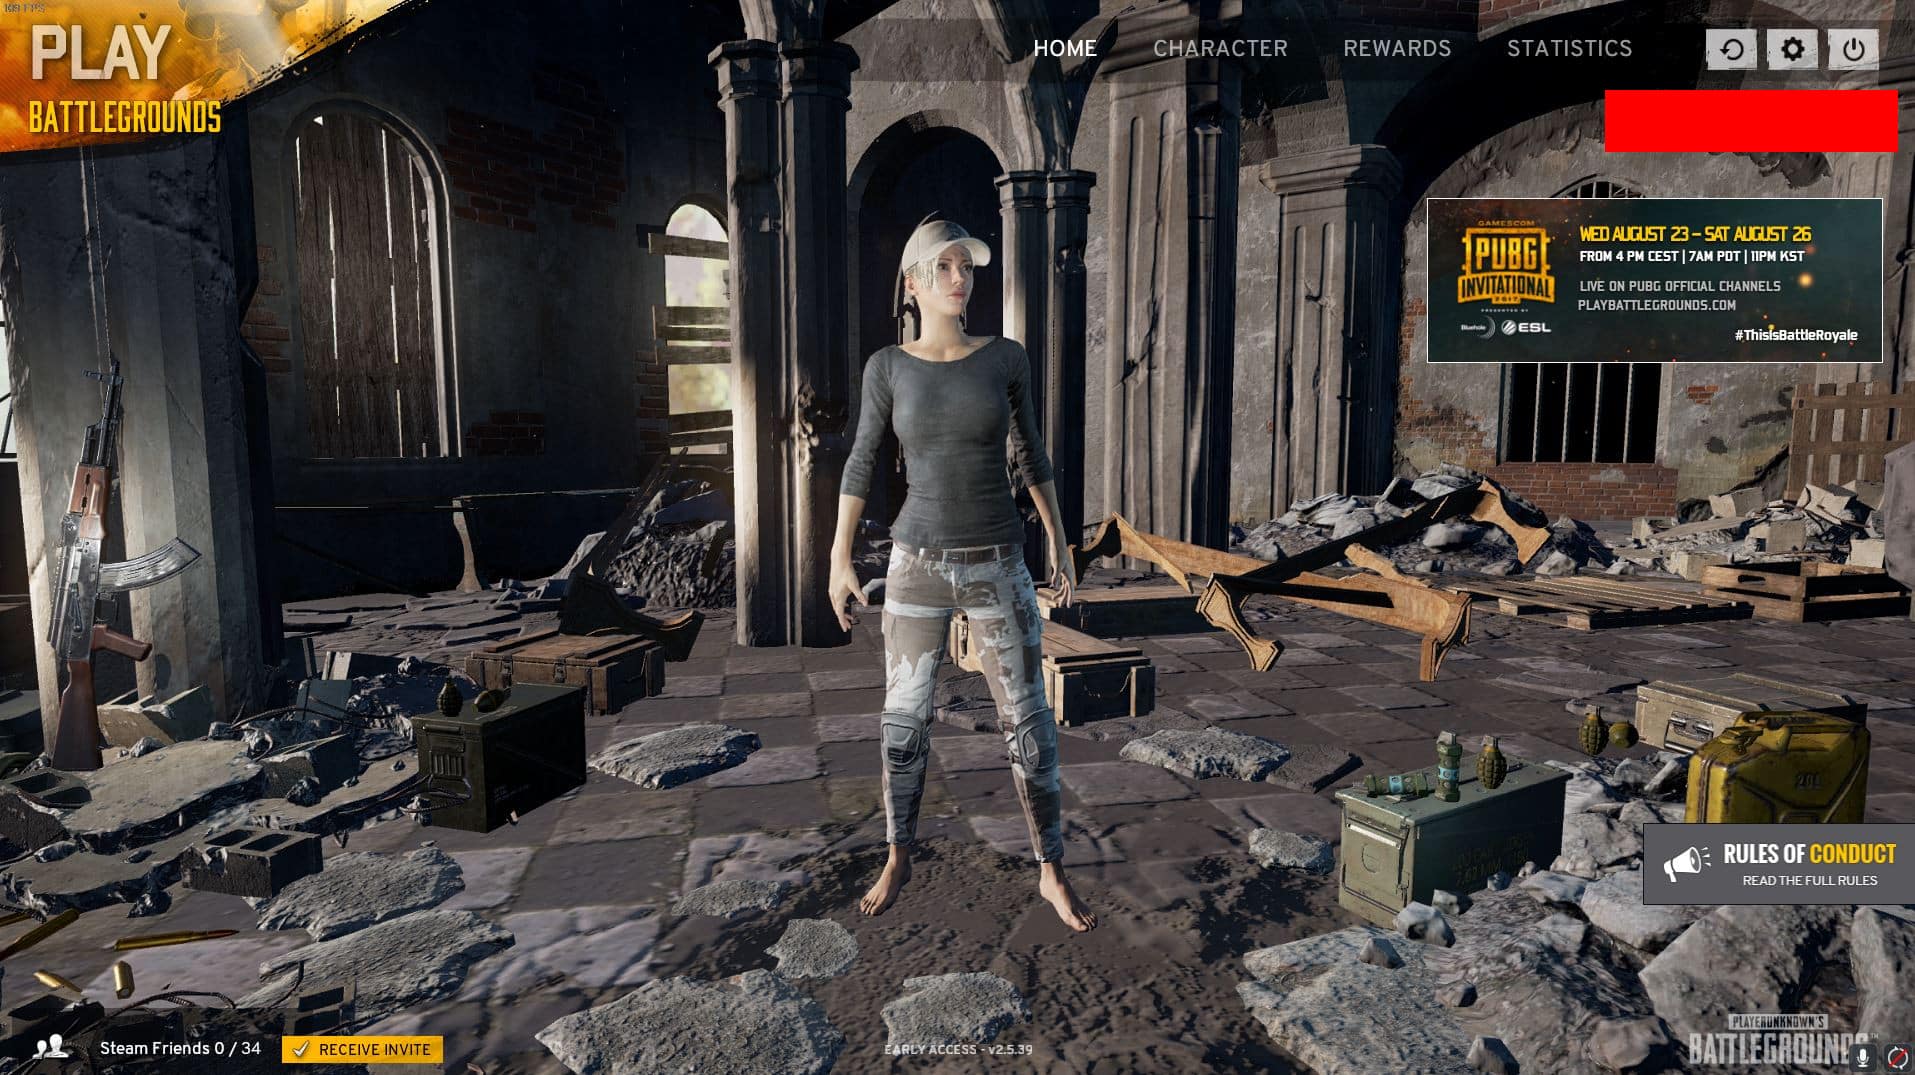
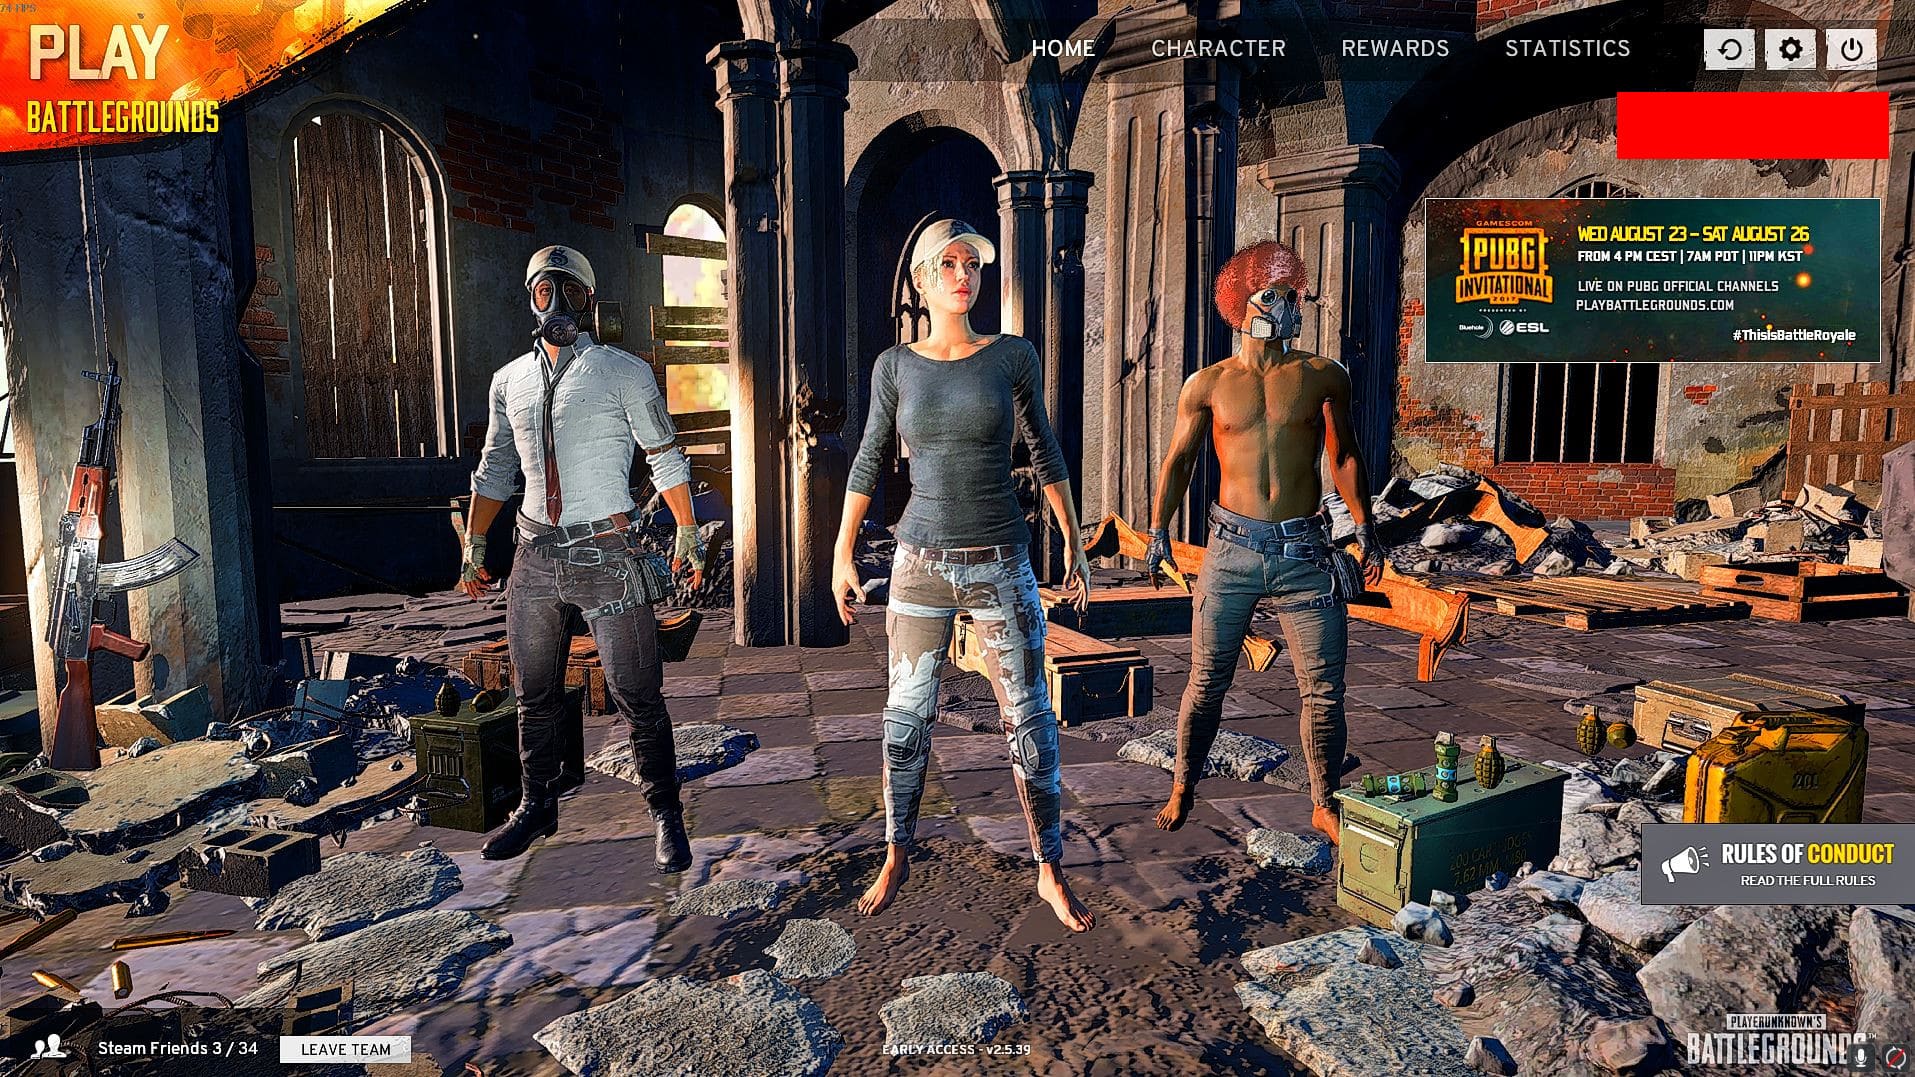
At last, let’s post some comparison images with and without Reshade.
| Without Reshade | With Reshade |
|
|
If you think the image is too noisy, make sure you reopen the Overlay and go back to Configuration Mode. Then, go back to Home and in the Variables search for Technicolor 2 and expand it. You will see the Strength value at 1.000 by default. Try to play with that Value until you find the perfect color that suits your eyes well.