Path to Strong Medkits is a quest in The Cycle: Frontier. The quest is given by Emmanuel Sullivan – Osiris CEO & Lead Researcher. It consists of 3 different parts. All of them are included below.
The Cycle Frontier “Path to Strong Medkits” Quest Details
General Quest Dialogue
The advancements in medical technology continue, partly thanks the samples you’ve collected.
Now, while emergency medical procedures aren’t something you should be practicing on the surface of an alien planet, assisting Osiris in developing improved med kits may improve the chances of a good outcome when you’re forced to.
Final Rewards
- x10 Strong Medkits
Quest Parts, Objectives & Guides
Click on Parts to sweep through all of the quest parts.

We’re continuing to research better ways to keep prospectors like you alive on the planet, so I’m sure this interests you. Get me these materials and you’ll be among the first to carry our new Strong Medkits.
Objectives
- Deliver 5 Marauder Flesh
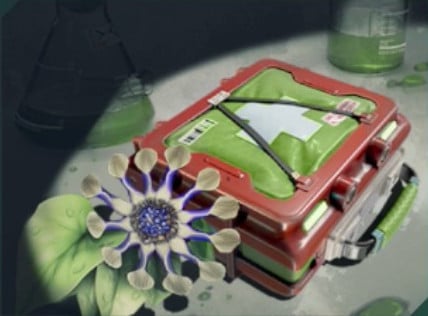
- Deliver 3 Medical Supplies
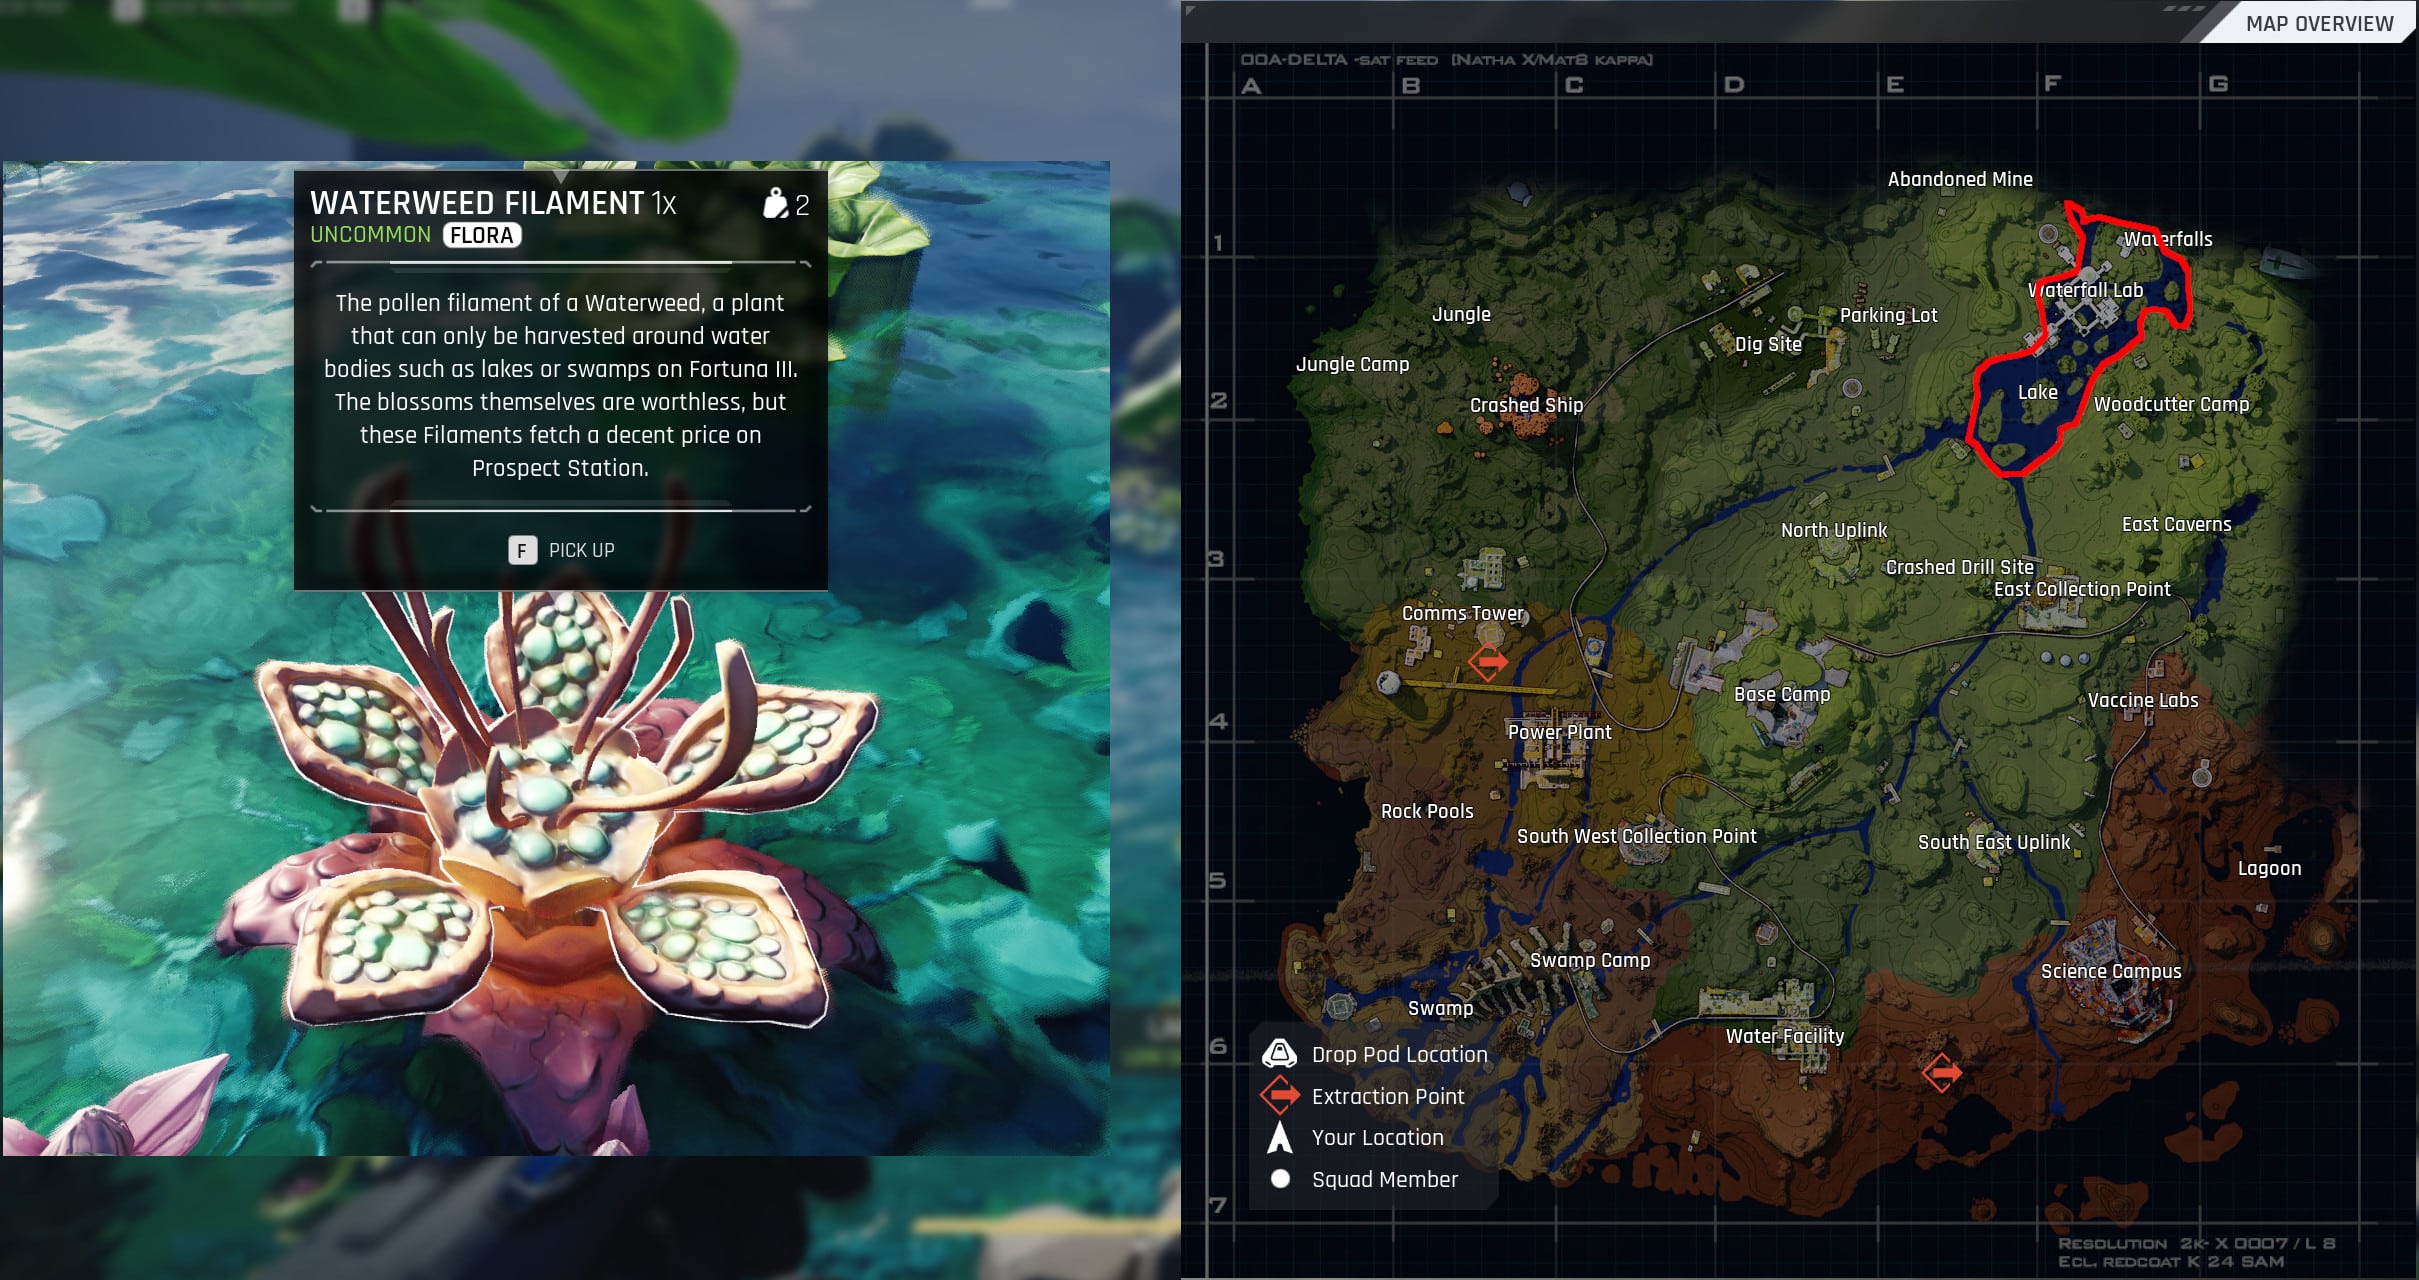
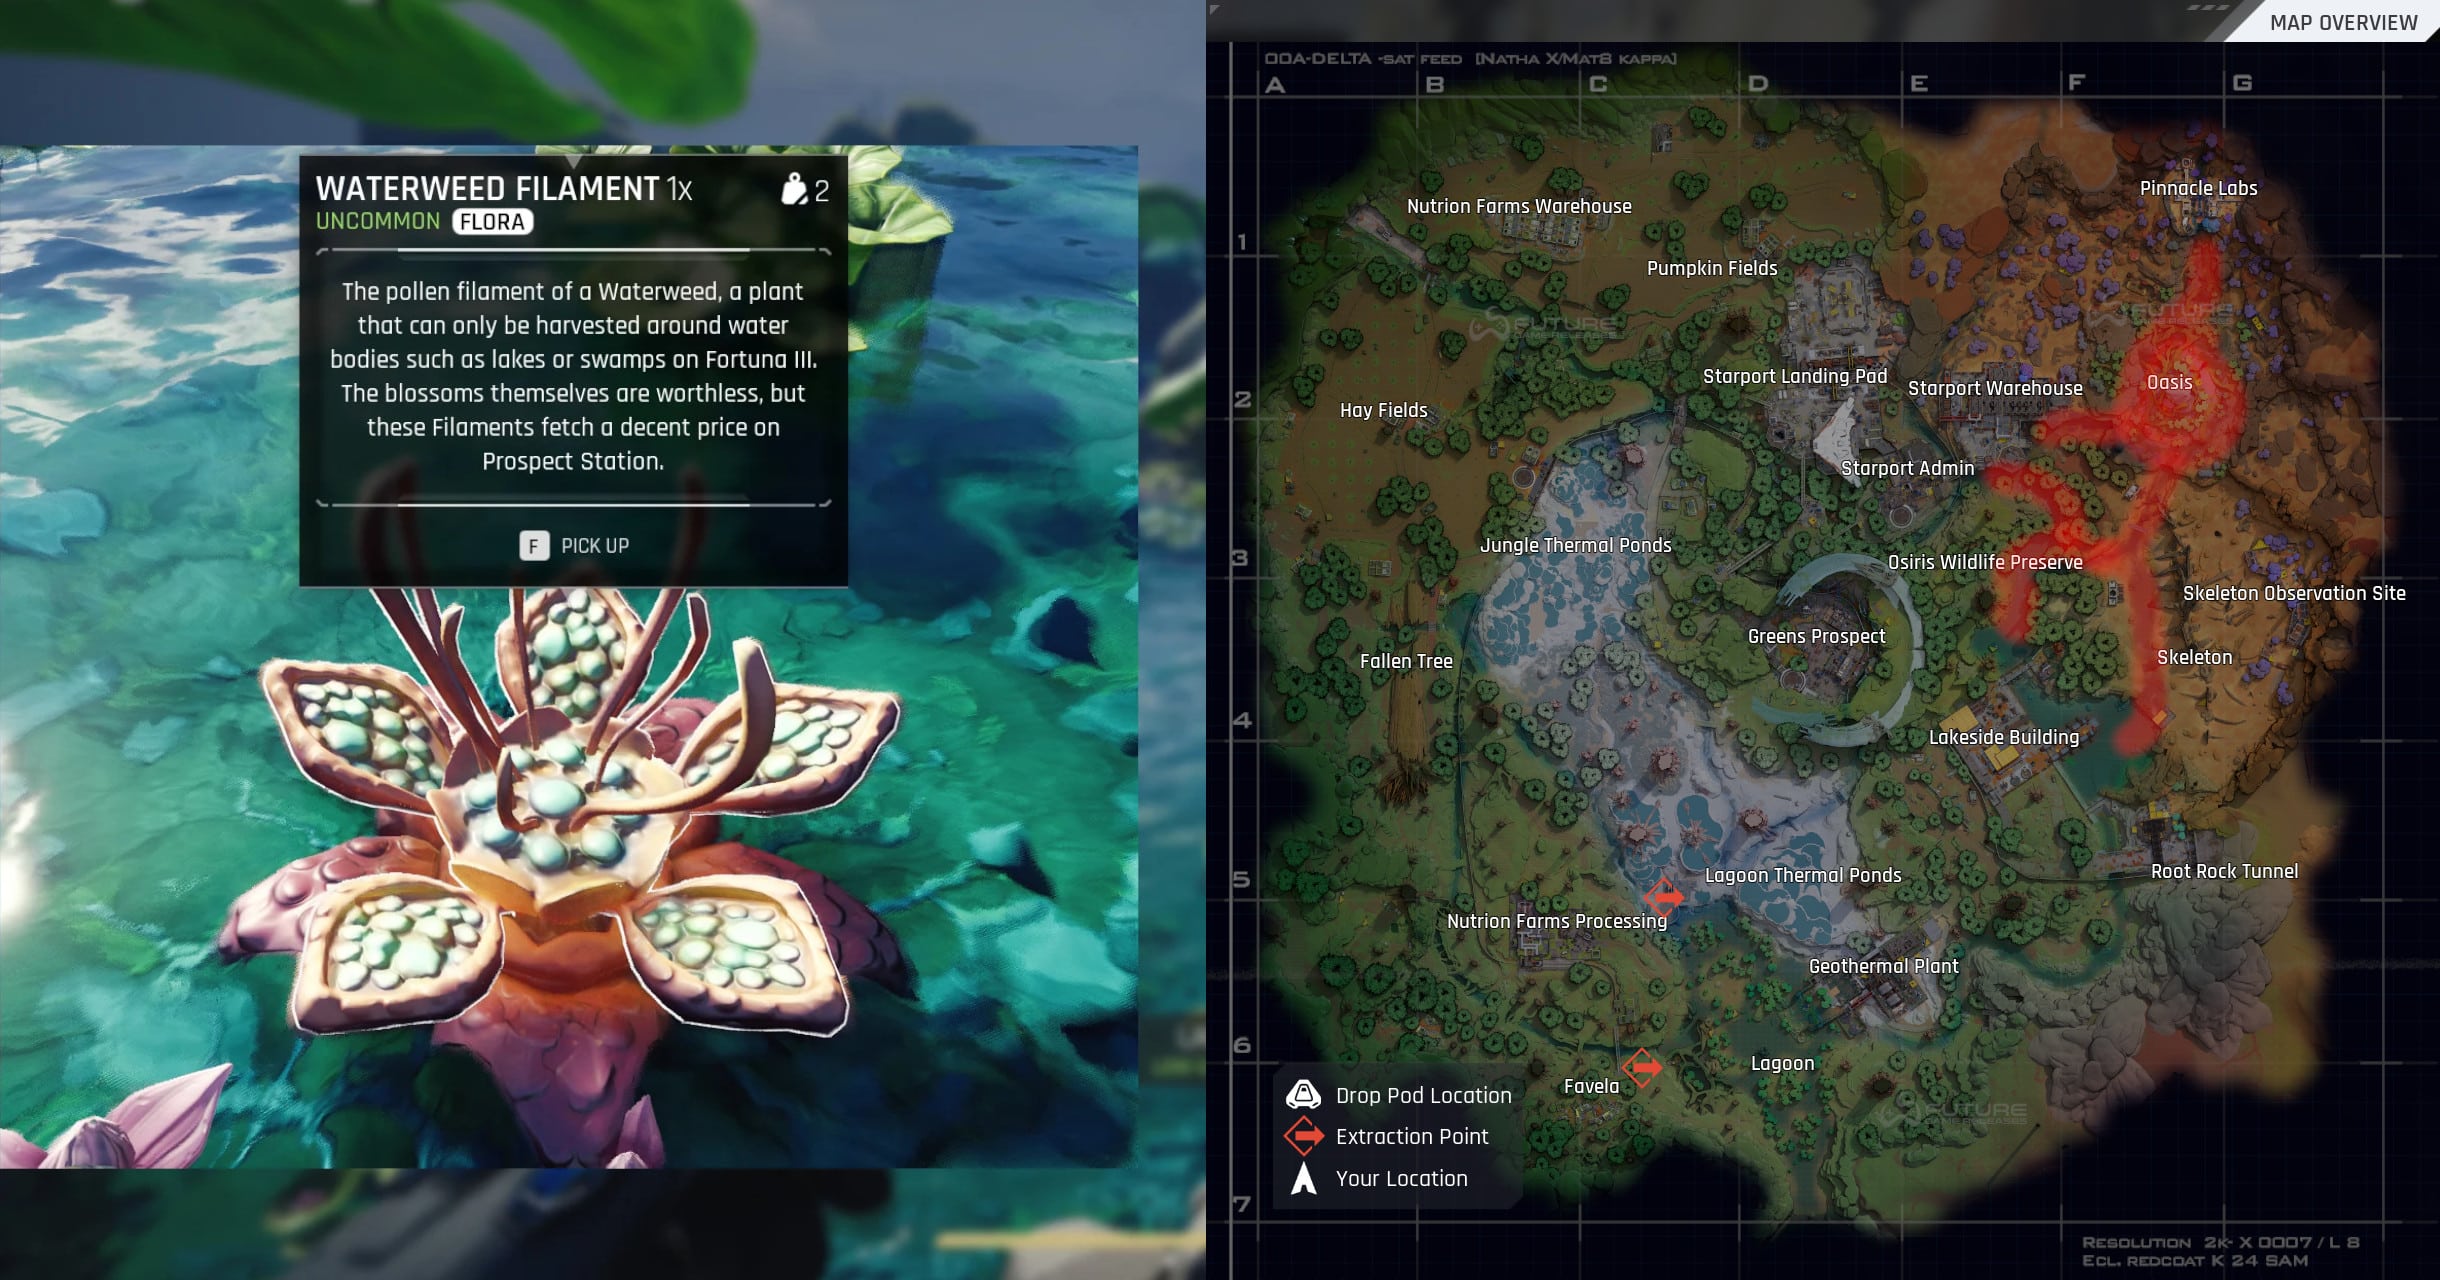
- Deliver 15 Waterweed Filaments
Rewards
|
|
|
Guide
- Marauder Flesh can be looted from dead Marauders. This means you have to eliminate them to get the flesh.
- Medical Supplies can spawn in Medical Cases, and Waterfall Labs and Vaccine Labs are decent POIs in that regard.
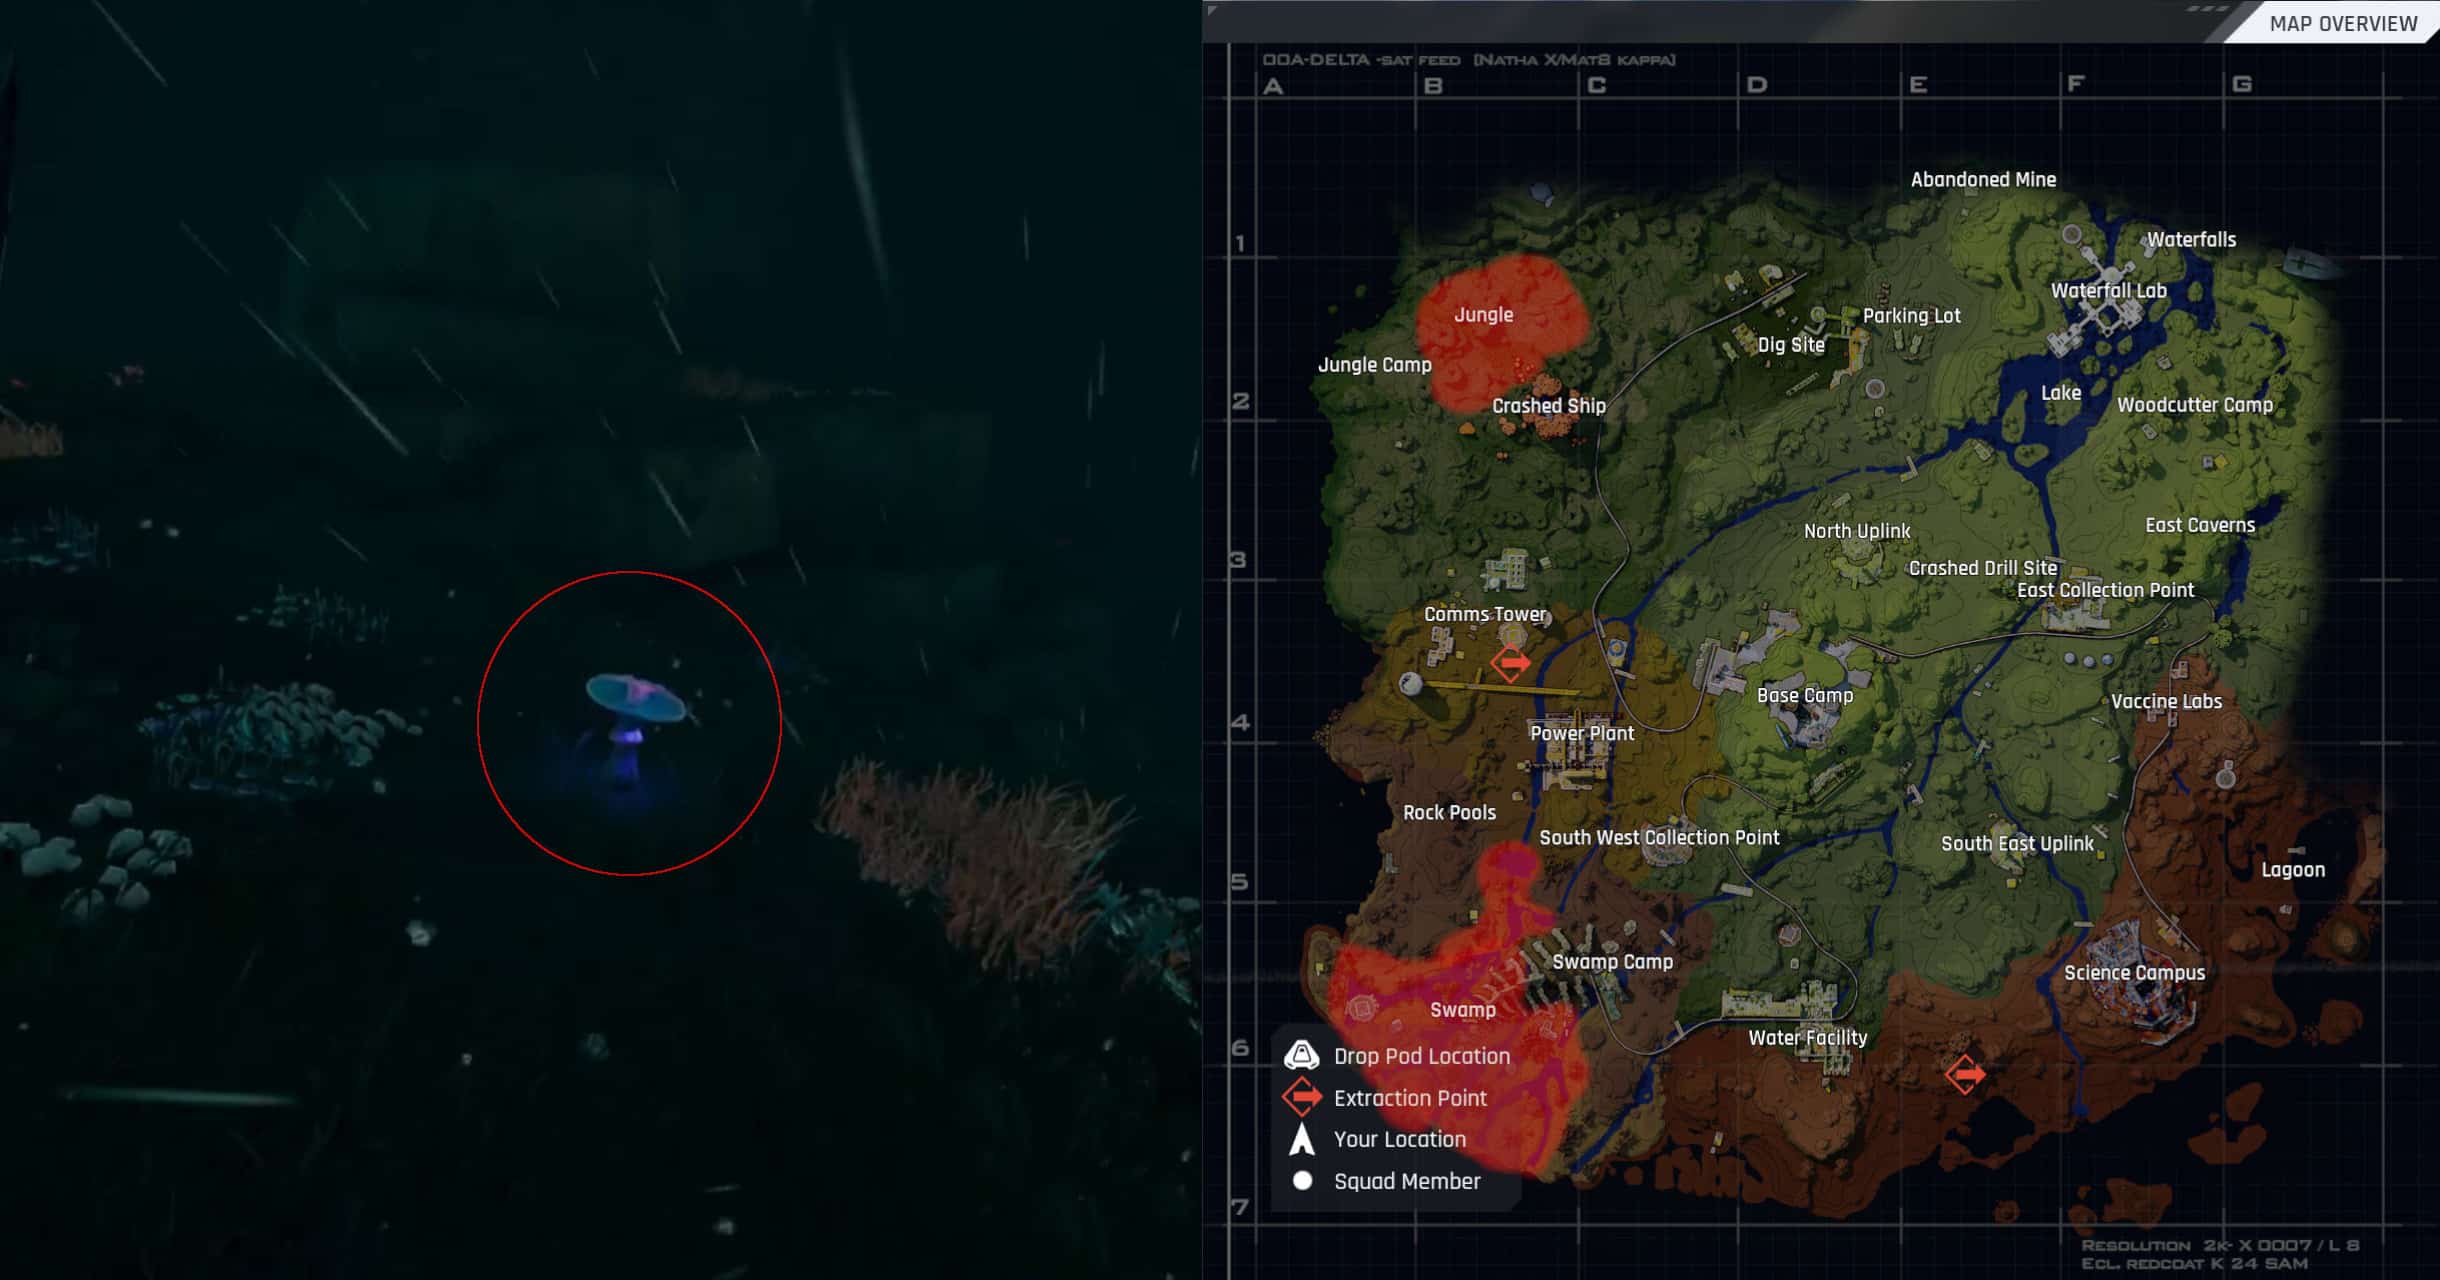
- Waterweed Filaments spawn around water almost across the whole Bright Sands. But, if you go around the Lake, you should easily get at least 10 of them. Check the image below

Part 2 Dialogue
The chemical properties of Fortuna III’s flora and fauna is truly fascinating… one would expect it to be completely foreign to our own, yet it’s so similar! Oh, right; we still need a few more items, Prospector.
Objectives
- Deliver 10 Pale Ivy Blossoms
- Deliver 10 Glowy Brightcap Mushrooms
Rewards
|
|
|
Guide
- Pale Ivy Blossoms are flowers that usually spawn on walls and cliffs in overgrown areas, such as the Jungle. They look like this:

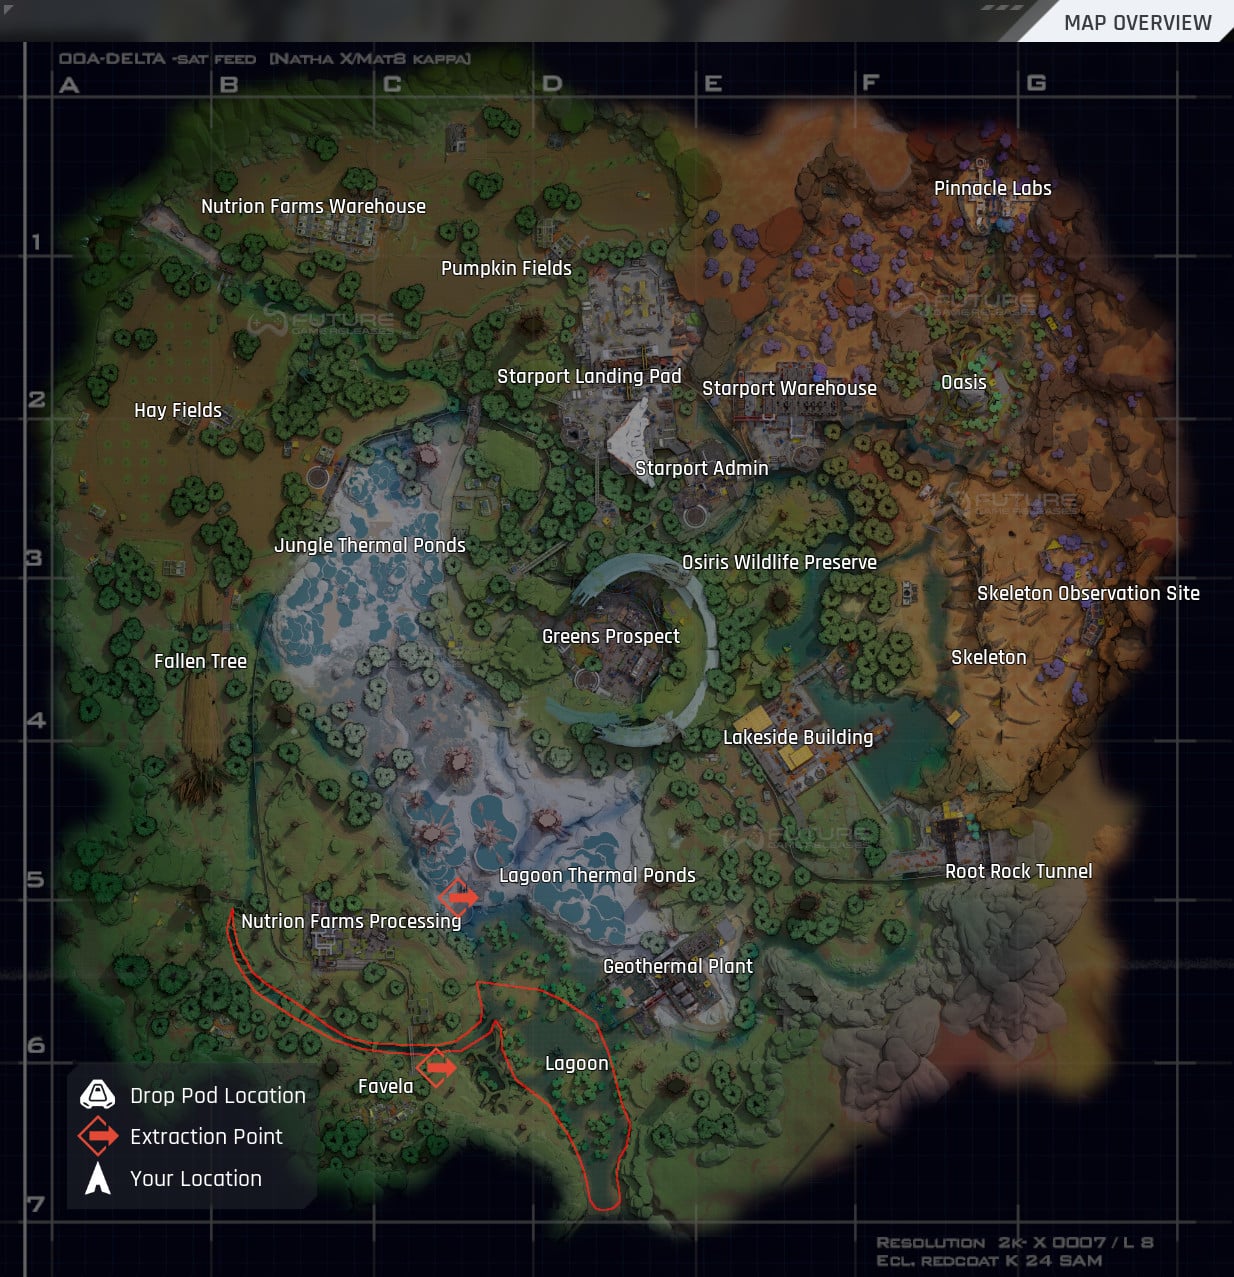
- Glowy Brightcap Mushrooms are tricky to get, as they can only be farmed during the storm. The places where you can farm them are around the Swamp and in the Jungle. They share the same spawns with the Brightcap Mushrooms, but they can only be farmed during the 5-minute storm period. To complete this, make sure you carry strong meds with you and heal yourself between each storm tick.

Important: The storm tick can be avoided. As soon as you see the red lightning surrounding you, make sure to get away from it asap. For that reason, keep at least half of your stamina bar when you’re on this quest.
Otherwise, the storm tick comes after the RED lightning strikes the ground. That’s exactly when you should expect the damage tick to occur. The glowy mushrooms are in a slightly different color, check below.

Part 3 Dialogue
We have reason to believe Korolev has a mole and is trying to steam our work on these Medkits and put them to market before we do; I’ve seeded rumors to different members of my team, if Korolev acts on the I’ll know who the leak is. Stash these old medicines at the Waterfall Labs in Bright Sands; if Korolev sends an agent to retrieve them, I’ll have my man.
Objectives
- Stash 8 Old Medicine at the Waterfall Lab
Rewards
|
|
|
Guide
- Old Medicines can be found in Medical Cases. Waterfall Labs and Vaccine Labs are good spots to search for them.
If you already have them in your stash then make sure you take them with you before you go on a raid, as this is another Dead Drop mission, which means you will need to deposit the items. Below you can find the Dead Drop location.
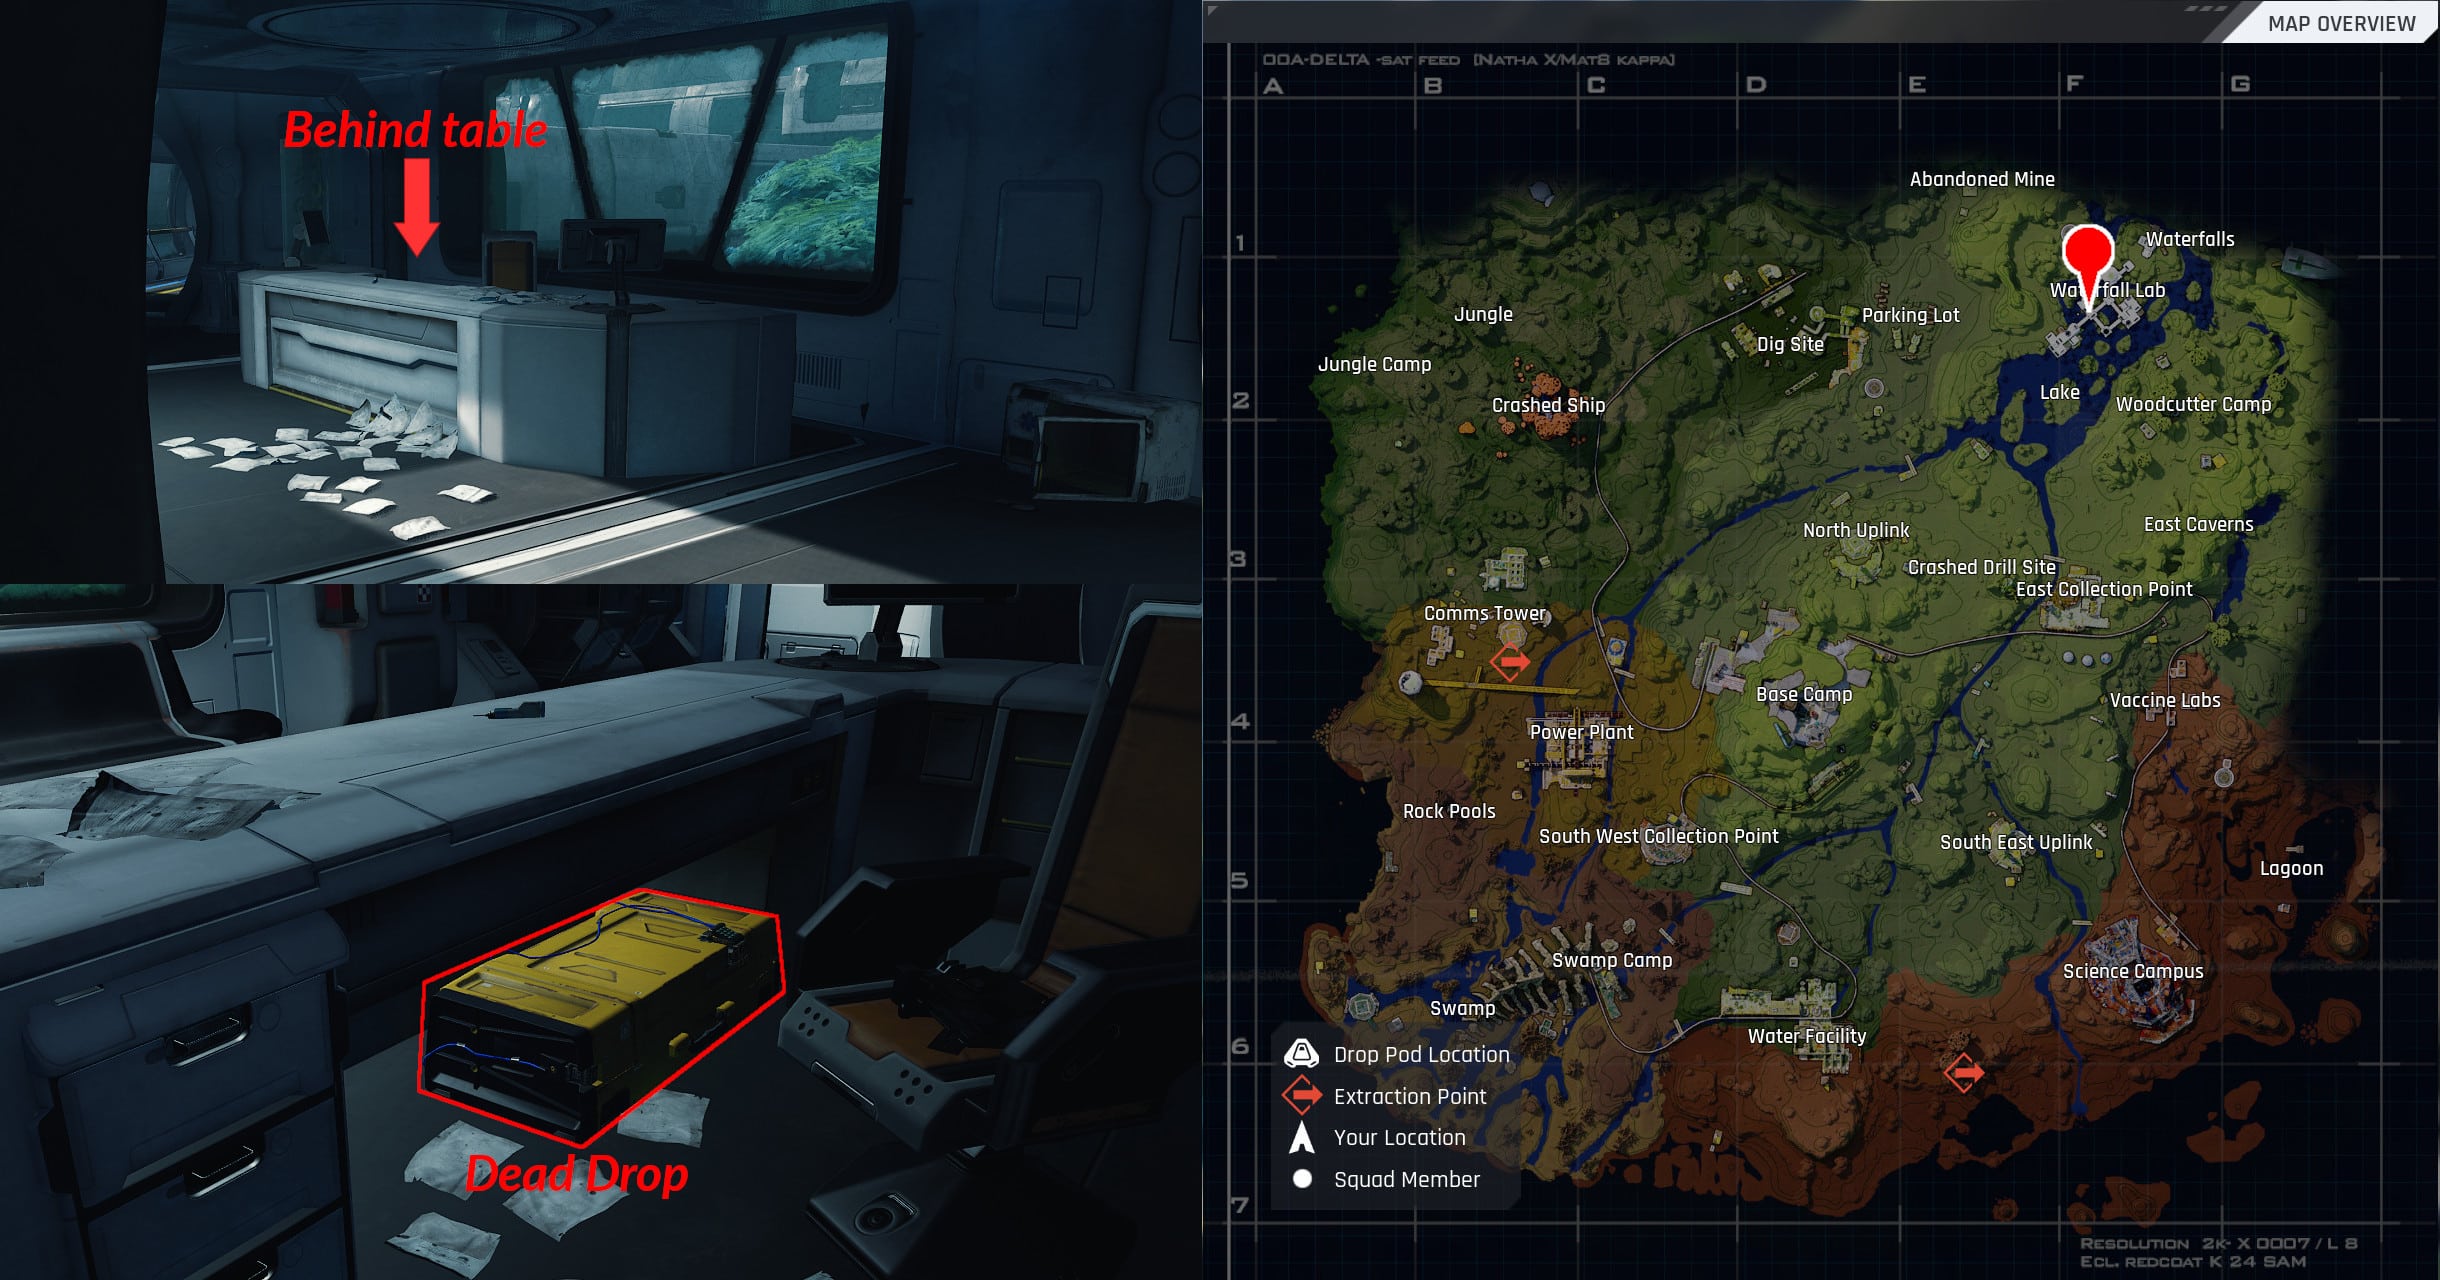
After you transfer the items, don’t forget to click Deposit at the bottom left of the screen.
Keep in mind that the guides are a work in progress. If you notice anything out of place, please let us know in the comments below!